Published 2-day Tokyo itineraries ignore the math that shapes your actual day. This teaches routing logic, not attraction lists.
Published 2-day Tokyo itineraries ignore the math that shapes your actual day. This teaches routing logic, not attraction lists.
Asakusa to Shibuya is a 35-minute train ride. Door-to-door, for a first-timer navigating station exits, it's closer to 50 minutes. That gap — between what Google Maps promises and what actually happens — is why every "Day 1: Traditional, Day 2: Modern" itinerary falls apart before lunch.
This isn't another list of attractions to check off. It's a framework for thinking about how two days in Tokyo actually work: which constraints shape your routing, which trade-offs are worth making, and what to cut when something has to give.
If you have a third day, the structure changes—Day 3 becomes about depth rather than coverage. See our 3-day framework for how that extra day shifts the entire approach.
The 35-Minute Illusion
Published train times are accurate. Published itineraries built on them are not.
What "35 Minutes" Actually Means
The Ginza Line from Asakusa to Shibuya takes 33-37 minutes platform to platform. That number ignores:
-
Finding the right station entrance (Asakusa has four different "Asakusa Stations" operated by different companies)
-
Walking from street level to platform
-
Waiting for the train
-
Navigating Shibuya Station on arrival
-
Finding the correct exit among dozens
For first-time visitors, door-to-door time runs 40-50 minutes. The train ride is less than half of it. For a detailed breakdown of what adds to these times—station navigation, crowd friction, seasonal adjustments—see our walking distances guide.
The Station Navigation Tax
Shinjuku Station has over 200 exits. Five different rail operators share the complex across 35+ platforms. First-timers spend 10-20 minutes just getting from platform to street.
The main JR exits alone include East Exit, West Exit, South Exit, Central East Exit, Central West Exit, and New South Gate. The East Exit leads to Kabukicho. The West Exit leads to the skyscraper district. Confusing them costs 15 minutes and a lot of frustration.
A 2020 renovation improved east-west passage, cutting 10 minutes off what used to be even worse.
Three Routes That Take Twice as Long as Published
| Route | Train Time | Realistic Door-to-Door |
|---|---|---|
| Asakusa → Shibuya | 33-37 min | 40-50 min |
| Asakusa → Harajuku | 35-40 min | 45-55 min |
| Tsukiji → Shinjuku | 20-30 min | 35-45 min |
Minute-by-minute itineraries ignore this math. Time blocks work. Timestamps don't.
The East/West Split and Why It's Arbitrary
Every two-day Tokyo guide uses the same structure: Day 1 on the east side (Asakusa, Ueno, Akihabara), Day 2 on the west (Shibuya, Harajuku, Shinjuku). It's clean. It makes geographic sense. It's also arbitrary.
Where the Split Came From
The east/west division exists because it's easy to explain. Tokyo's traditional neighborhoods cluster in the east. The modern shopping and nightlife districts cluster in the west. Grouping by geography minimizes cross-city train rides.
That logic holds — if you're starting from a hotel equidistant from both.
What Your Hotel Location Changes
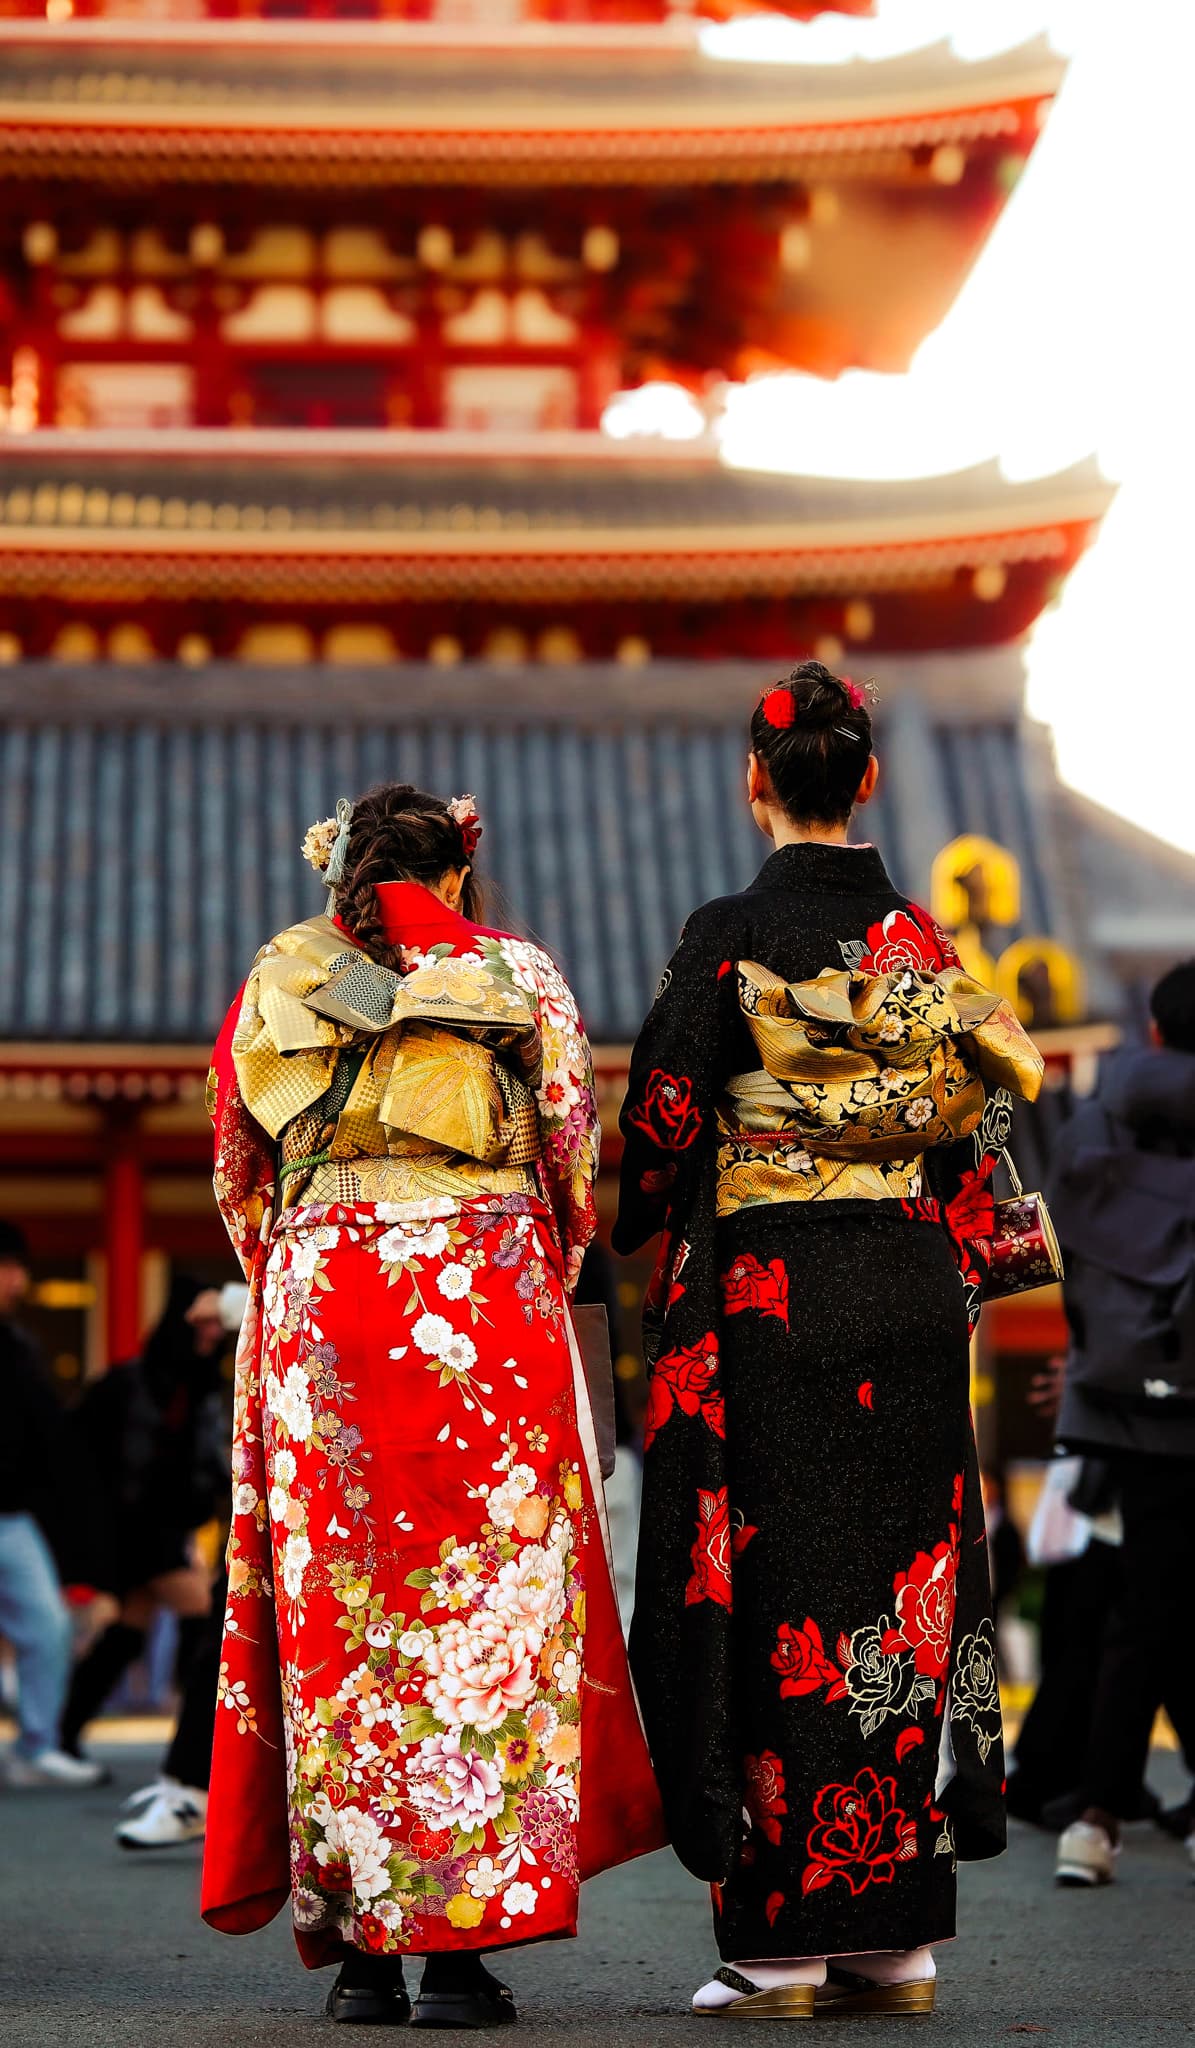
If you're staying in Asakusa, starting your trip on the east side means you're already there. Wake up early, walk to Senso-ji before the crowds arrive, and you've captured something impossible for someone staying in Shinjuku.
If you're staying in Shibuya, reversing the order makes more sense. Hit Shibuya Sky at sunset on Day 1 while you're fresh—and the Shibuya places guide covers what else is worth your time beyond the Crossing.
Save the long Ginza Line ride to Asakusa for Day 2 morning, when you've adjusted to the pace.
The split isn't wrong. It just ignores the variable that matters most: where you wake up.
When to Ignore It Entirely
Fixed points override geography:
-
A timed teamLab reservation at 2 PM anchors your afternoon regardless of location
-
Cherry blossom timing at Ueno Park doesn't care about your hotel
-
A dinner reservation in Shinjuku Golden Gai means ending Day 1 on the west side no matter where you started
Build around your fixed points first. Fill in around them second.
The Reservation Anchor Problem
Timed entries save you from queues. They also constrain everything else.
What One Timed Entry Does to Your Day
A 4 PM teamLab Planets reservation means you need to be in Toyosu by 3:30 PM—and if you're there anyway, the morning sequence (wholesale market breakfast → Planets) works better than backtracking. That means leaving central Tokyo by 2:45 PM. That means your afternoon routing works backward from one fixed point.
This isn't a problem — it's just how anchors work. The problem is when itineraries stack multiple anchors without acknowledging the compression.
Book These, Leave These Open
Book in advance:
-
teamLab Planets or Borderless: Slots sell out 1-2 months ahead for popular times. Tickets run ¥3,600-5,400 depending on timing. See our full teamLab guide for venue comparison and day-building strategies.
-
Shibuya Sky sunset: The 2-week booking window opens at midnight JST. Sunset slots sell out within minutes.
-
Ghibli Museum: Tickets go on sale on the 10th of each month at 10:00 AM JST for the following month. Create your Lawson Ticket account the day before and have payment info ready — the virtual queue is random and popular dates sell out in minutes. Adults pay ¥1,000 at face value; JTB package tours cost more but guarantee entry.
-
Popular restaurants with online booking
Leave flexible:
-
TMG Building observation deck (free, no reservation)
-
Senso-ji: Open 24/7 (temple grounds), no booking needed
-
Most neighborhood exploration
-
Convenience store meals and street food
-
Department store visits
The question isn't "should I book?" It's "does this reservation justify constraining 3-4 hours of my day?"
The Flexibility vs. Certainty Trade-off
Two anchors per day is manageable. Three starts to feel rigid. Four means you're executing a schedule, not exploring a city.
For a 2-day trip, one major timed entry per day is the limit. That preserves enough flexibility to adjust for weather, energy, and discoveries.
The Subtraction Framework
Most 2-day Tokyo itineraries fail by addition. They list everything worth seeing, imply you can fit it all, and leave you with a bloated schedule that collapses on contact with reality.
The fix isn't finding more time. It's cutting deliberately.
If You Add X, Drop Y
These trade-off pairs share something: time, energy, or category overlap. Doing both dilutes both.
| If you do this... | Consider skipping... | Why |
|---|---|---|
| teamLab (2-3 hours) | Tokyo Skytree | Both are immersive, timed, energy-intensive |
| Shibuya Sky sunset | Morning observation deck | One skyline view is enough — unless you're considering a helicopter tour, which offers a different experience entirely |
| Full Ueno museum day | Asakusa same day | Both are on the east side but competing for the same half-day |
| Harajuku deep dive | Shibuya Crossing photo stop | Harajuku is next to Shibuya — do one properly |
| Tsukiji breakfast | Hotel breakfast + early temple | Can't do both before 9 AM |
The full list of what's worth considering—and what to cut—is in our 25 things to do guide. This framework helps you subtract once you know the options.
The Observation Deck Decision
Tokyo has multiple observation decks. You don't need multiple.
| Deck | Price | Height | Key Feature |
|---|---|---|---|
| TMG Building (Shinjuku) | Free | 202m | No reservation, South open until 9:30 PM |
| Shibuya Sky | ¥2,700-3,400 | 229m | Open-air rooftop, best photos, advance booking required |
| Tokyo Skytree | ¥1,800-3,100 | 350-450m | Tallest, indoor only, family-friendly |
The trade-off: Shibuya Sky has the best photos but requires planning. TMG is free and flexible. Skytree is tallest but you can't see Skytree from Skytree.
One observation deck per 2-day trip is plenty.
What Experienced Travelers Skip
Repeat visitors consistently deprioritize:
-
Shibuya Crossing: "Just a busy crosswalk." Walk through it, don't linger for 30 minutes. If you skip the Crossing photo stop, you have time for Shibuya beyond the tourist loop.
-
Tokyo Skytree observation deck: The tower is photogenic from outside. Inside is a queue.
-
Toyosu Market tourist areas: "Sanitized office building." Tsukiji Outer Market has more character.
-
Takeshita Street (Harajuku): "Mostly chain stores now." Cat Street has RAGTAG for discounted Comme des Garçons and Issey Miyake, Pigsty for American vintage, and CHICAGO for vintage jeans and kimonos.
These aren't bad. They're just not worth the time investment for a 2-day trip when alternatives exist.
Two Adaptable Templates
These aren't schedules. They're structures you can modify without breaking the day.
Two timing realities to build around:
-
Most shops don't open until 10-11 AM. Early mornings are for temples, parks, and markets — not shopping.
-
By Day 2 afternoon, jet lag plus 30,000+ cumulative steps catches up. Build slack into late Day 2.
Template A: Start Near Your Hotel
Build Day 1 morning around wherever you wake up. Minimize transit when you're freshest.
Day 1:
-
Morning block (3-4 hours): Neighborhood near your hotel
-
Midday transition: One train ride to contrasting area
-
Afternoon block (3-4 hours): Second neighborhood
-
Evening: Flexible — dinner near afternoon location or return to hotel area
Day 2:
-
Morning block (3-4 hours): Farthest location from hotel (get the long transit done while you have energy)
-
Midday: Light lunch, one or two focused stops
-
Afternoon block (2-3 hours): Flexible/light — anticipate fatigue
-
Evening: Near hotel for easy return
Modification logic: Swap any block, but keep the energy curve. Heavy morning, lighter afternoon. For food-focused routing, replace a neighborhood block with a market or dining district.
Template B: Anchor Around One Timed Entry
Build the day backward from your reservation.
Day 1:
-
Morning until anchor: Nearby neighborhood (minimize transit risk)
-
Timed entry: 2-4 PM slot works well
-
After anchor: Dinner in same area, then return
Day 2:
-
No timed entries — maximum flexibility
-
Morning: Farthest destination
-
Afternoon: Adjust based on energy
-
Evening: Wherever you end up
Modification logic: Never put two timed entries back-to-back. Leave 2+ hours buffer around any anchor.
How to Modify Without Breaking the Day
Safe swaps:
-
Swap Asakusa and Ueno (same area, same transit). To explore Asakusa beyond Senso-ji, budget 3-4 hours.
-
Swap Shibuya and Harajuku (walkable between them)
-
Move observation deck to any late afternoon/evening slot
-
Add Akihabara to any east-side day
Risky swaps:
-
Adding a timed entry to an already-anchored day
-
Putting Asakusa and Shibuya on the same afternoon (transit eats the time)
-
Scheduling anything important for Day 2 after 4 PM
When Weather Changes Everything
Rain doesn't ruin a Tokyo day — it changes which version works. Pivot to the nearest indoor cluster instead of crossing the city.
| Area | Indoor Options |
|---|---|
| Asakusa | Senso-ji main hall, Kappabashi (covered), Skytree + Solamachi mall |
| Shibuya | Shibuya Sky indoor gallery, Scramble Square, Shibuya 109/Parco |
| Shinjuku | TMG observation deck, Subnade underground mall, department store basements |
| Ueno | Tokyo National Museum, Science Museum, covered park areas |
The Edo-Tokyo Museum reopened March 31, 2026 after four years of renovations.
When the Routing Gets Complicated
Some two-day trips are straightforward. Two adults, flexible schedule, moderate walking ability, no firm constraints. The framework above handles those.
Others aren't.
Constraints That Compound
Single constraints are manageable. Combinations multiply complexity:
-
Traveling with young children AND elderly parents (different pace needs)
-
Wheelchair user AND specific food restrictions (accessibility + restaurant research)
-
First-time visitor AND only 2 days AND multiple must-do reservations
-
Non-English speakers AND detailed cultural questions
Each constraint alone is solvable. Stacked together, planning time explodes and real-time pivots become difficult.
What a Guide Actually Does in 2 Days
The practical differences:
Navigation: Guides eliminate wrong turns and station confusion. Self-guided tourists average 19,000-27,000 steps; guided tours cover comparable ground in 12,000-18,000.
Real-time pivots: When weather changes or energy drops, guides reroute instantly. Self-guided visitors face replanning with limited information.
Reservation management: Guides know which places need booking, which take walk-ins, and how to time arrivals to minimize waits.
Accessibility: Wheelchair-friendly routes exist but aren't obvious. All major stations (Shinjuku, Shibuya, Asakusa, Tokyo) have at least one elevator route from street to platform — tell the ticket inspector your destination and they'll radio ahead with a ramp. Key attractions like Senso-ji, Tokyo Skytree, and the TMG Building are fully accessible with elevators. Apps like Wheelmap help plan routes.
How to Decide
Ask yourself:
-
Can you navigate train stations with your group's mobility level?
-
Do you have time to research backup plans for weather and closures?
-
Are your constraints simple enough that one framework covers them?
-
Does your group agree on pace and priorities, or will you need mediation?
If the answers feel manageable, the framework above works. For more on when DIY makes more sense, we've written honestly about that.
If they don't, a guided day covers more ground with less friction than two self-guided days of constant problem-solving. For 2-day visits with compounding constraints, Tokyo Essentials is the most focused full-day format — designed for exactly this situation.
Private guides in Tokyo run $400-600 for a full day depending on group size and tour type. For a 2-day trip where one day goes sideways, that math looks different.
Where Hinomaru One Fits
The routing math that breaks DIY itineraries is what guides solve. We know door-to-door times, manage reservation anchors, and pivot when weather or energy shifts. For 2-day trips where constraints compound — families, accessibility needs, multiple must-do reservations — a guided day eliminates the constant replanning.
At Hinomaru One, we design culturally rich, stress-free private Tokyo tours for first-time and seasoned travelers. Unrushed. Insightful. Always customized.