Choose your Tokyo connectivity with fewer assumptions and smoother setup.
Choosing between pocket WiFi, a SIM card, and an eSIM in Tokyo matters more than most travelers expect — the right option depends on your travel style, group size, and how you use data.
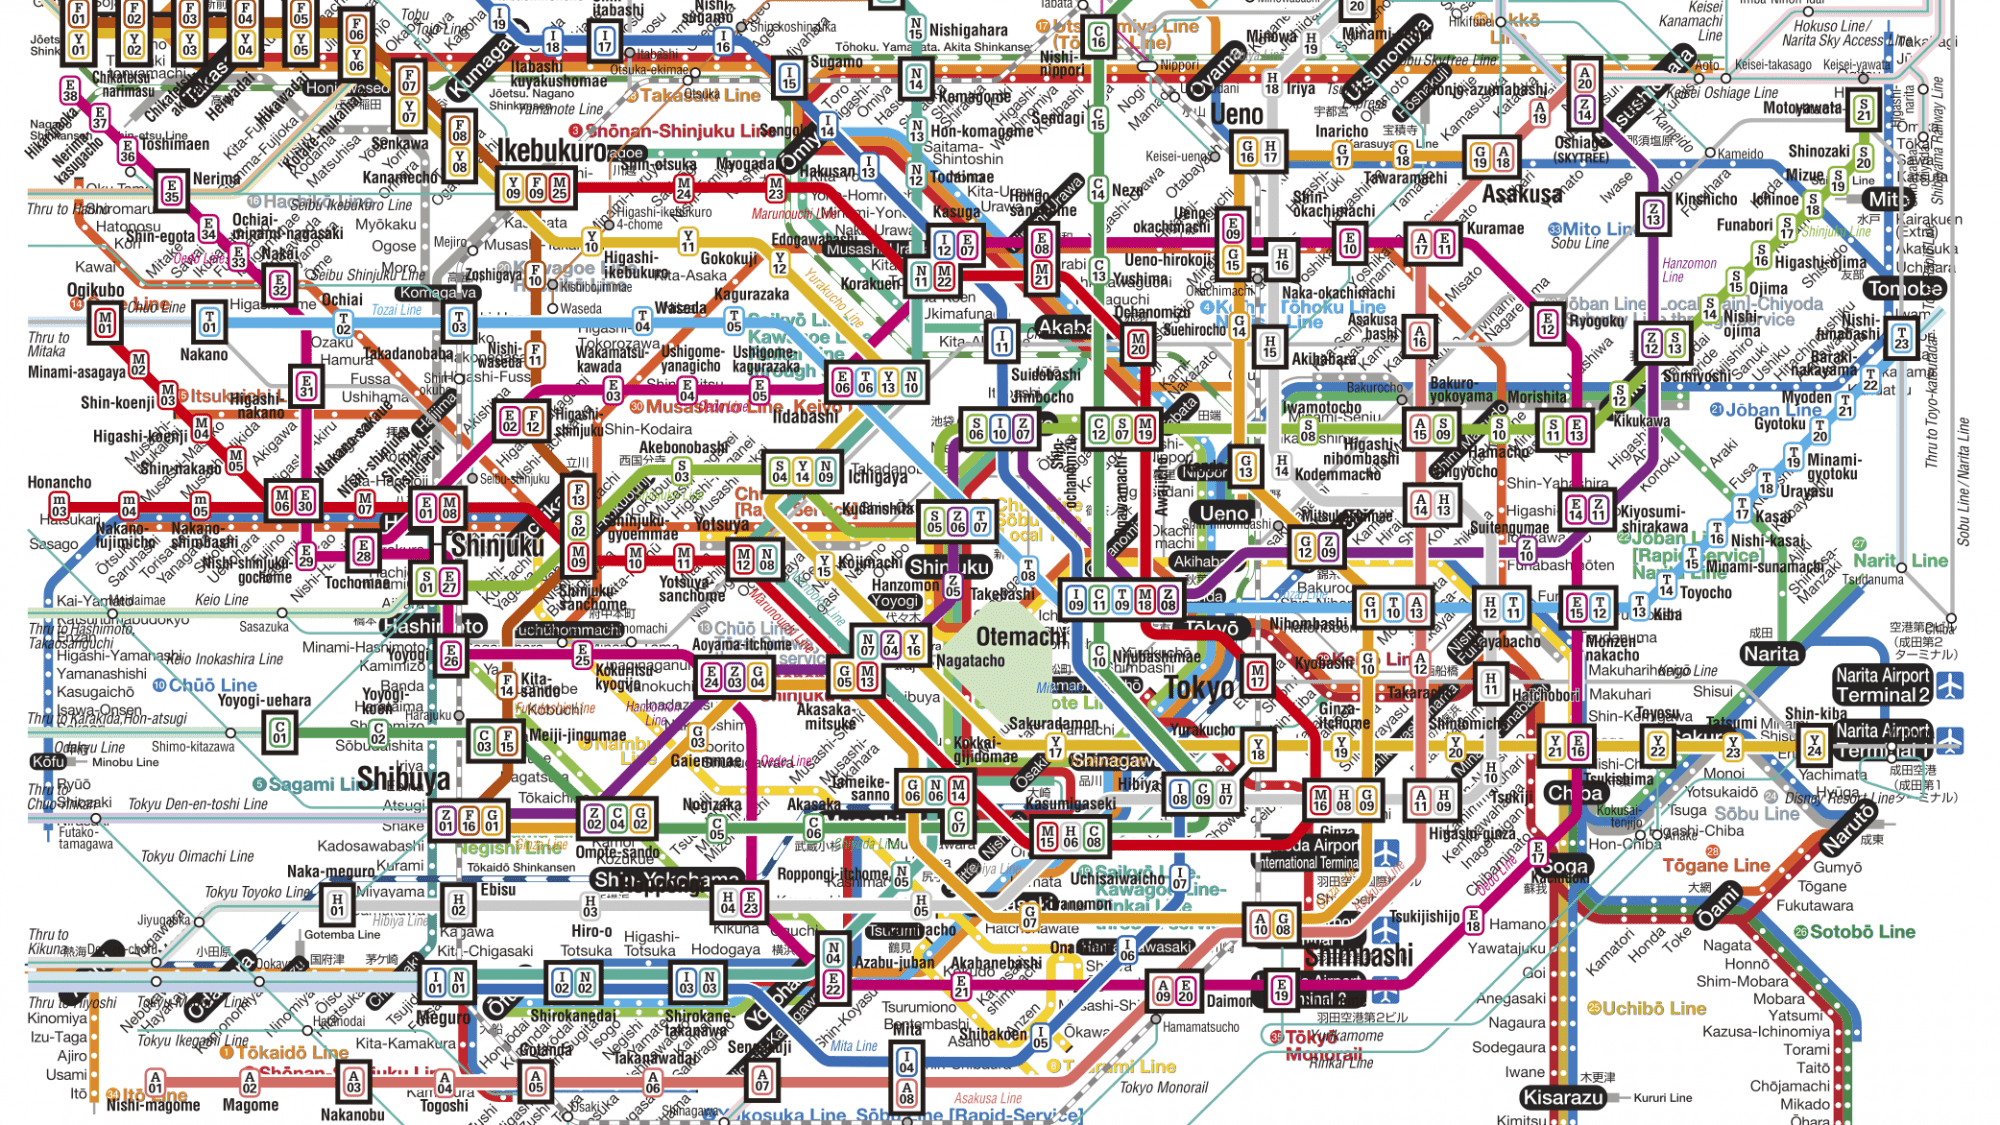
Tokyo's navigation infrastructure assumes you have data access. The city's complexity makes offline travel impractical, not just inconvenient.
Why Staying Connected Matters in Tokyo
Connectivity determines whether you can:
-
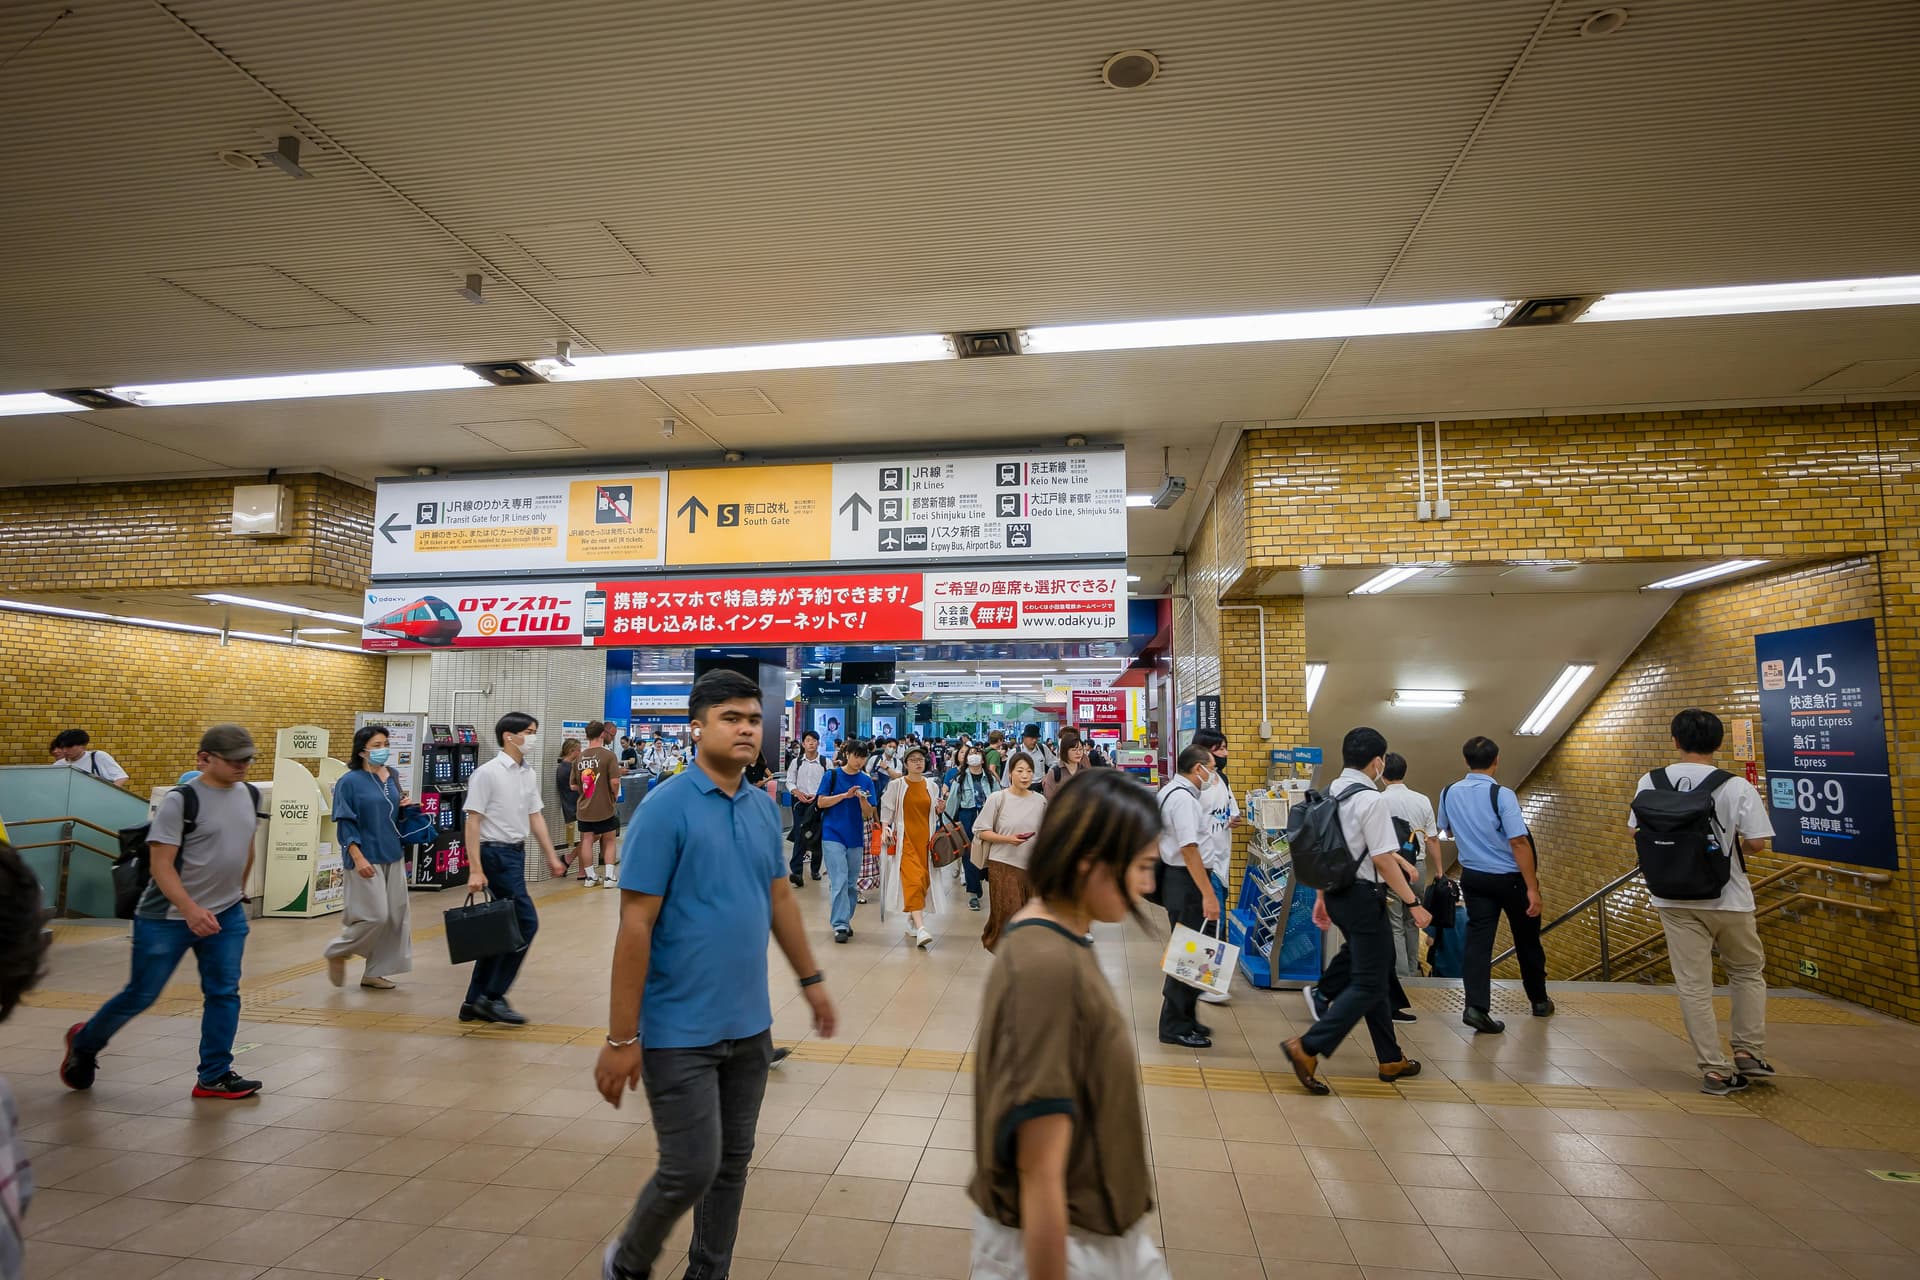
Navigate Shibuya station transfers without missing your train
-
Find the actual entrance to a restaurant in Shinjuku's backstreets (addresses don't work the way you expect)
-
Use Google Translate in izakayas where English menus don't exist
-
Check Hyperdia for real-time train delays that affect your entire day
-
Follow Google Maps through Yanaka's unmarked alleys
For more on navigating Tokyo's transport system, that guide covers the broader complexity.
Tokyo's station labyrinths, non-sequential address system, and language barriers mean you'll be checking your phone constantly. This isn't about posting to Instagram—it's about knowing which exit to take, whether your train is delayed, and how to ask for what you need. While data connectivity lets you use translation apps, understanding where language barriers actually matter in Tokyo helps you prepare better.
The question isn't whether you need connectivity. It's which option matches your trip.
The Three Real Options (And Why Public WiFi Isn't One)
Relying on public WiFi in Tokyo fails because it's not there when you need it.
Free WiFi exists at Seven-Eleven locations, some major stations like Shinagawa, and shopping areas like Omotesando. But coverage is spotty, connection requires registration, and it's useless for navigation between points—which is exactly when you need it most.
You have three real options:
-
Pocket WiFi: Rental device you pick up and return
-
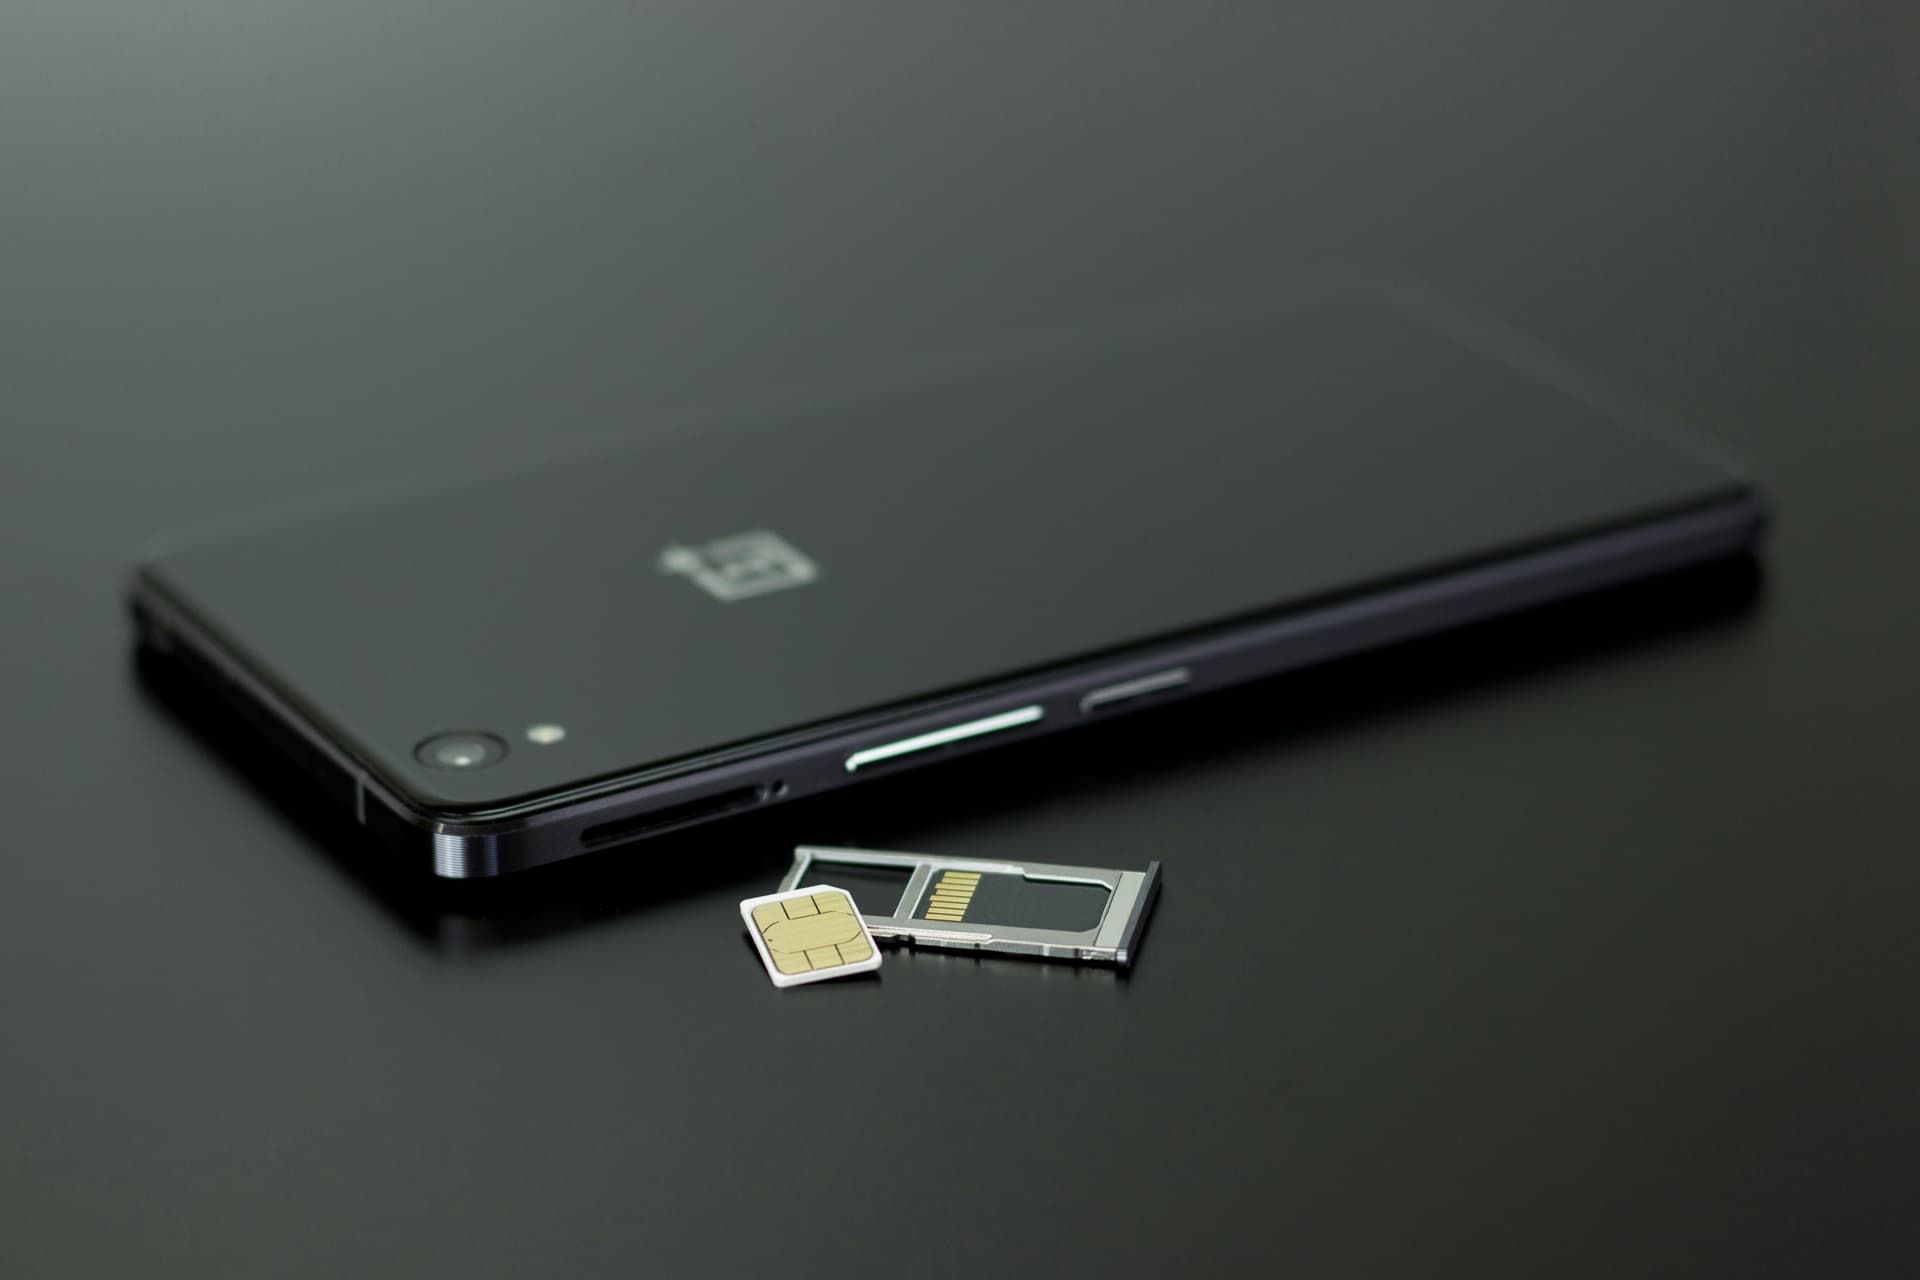
Physical SIM card: Replace or add to your phone's SIM
-
eSIM: Digital SIM activated via QR code
All three work. All three use Japan's major carriers (NTT Docomo, Softbank, au). The decision is about logistics, cost, and setup complexity—not reliability.
Quick comparison:
| Factor | Pocket WiFi | Physical SIM | eSIM |
|---|---|---|---|
| Setup complexity | Minimal (turn on, connect) | Low-Medium (insert, maybe configure APN) | Medium-High (scan QR, manage profiles) |
| Compatibility concern | None | Must be unlocked phone | Must be compatible device + unlocked |
| Airport pickup needed | Yes | Optional (can buy in city) | No |
| Return logistics | Yes (deadline stress) | No | No |
| Shares with group | Yes (multiple devices) | No | No |
| Cost for 7 days solo | ¥3,000-14,000 | ¥2,000-4,500 | ¥1,000-3,500 |
| Best for | Groups, tech-averse | Moderate data needs | Tech-comfortable solo travelers |
Pocket WiFi: The Rental Logistics Trade-off
Pocket WiFi solves connectivity by giving you a portable hotspot. You pick it up, turn it on, connect your devices. The trade-off is rental logistics.
Where to get it:
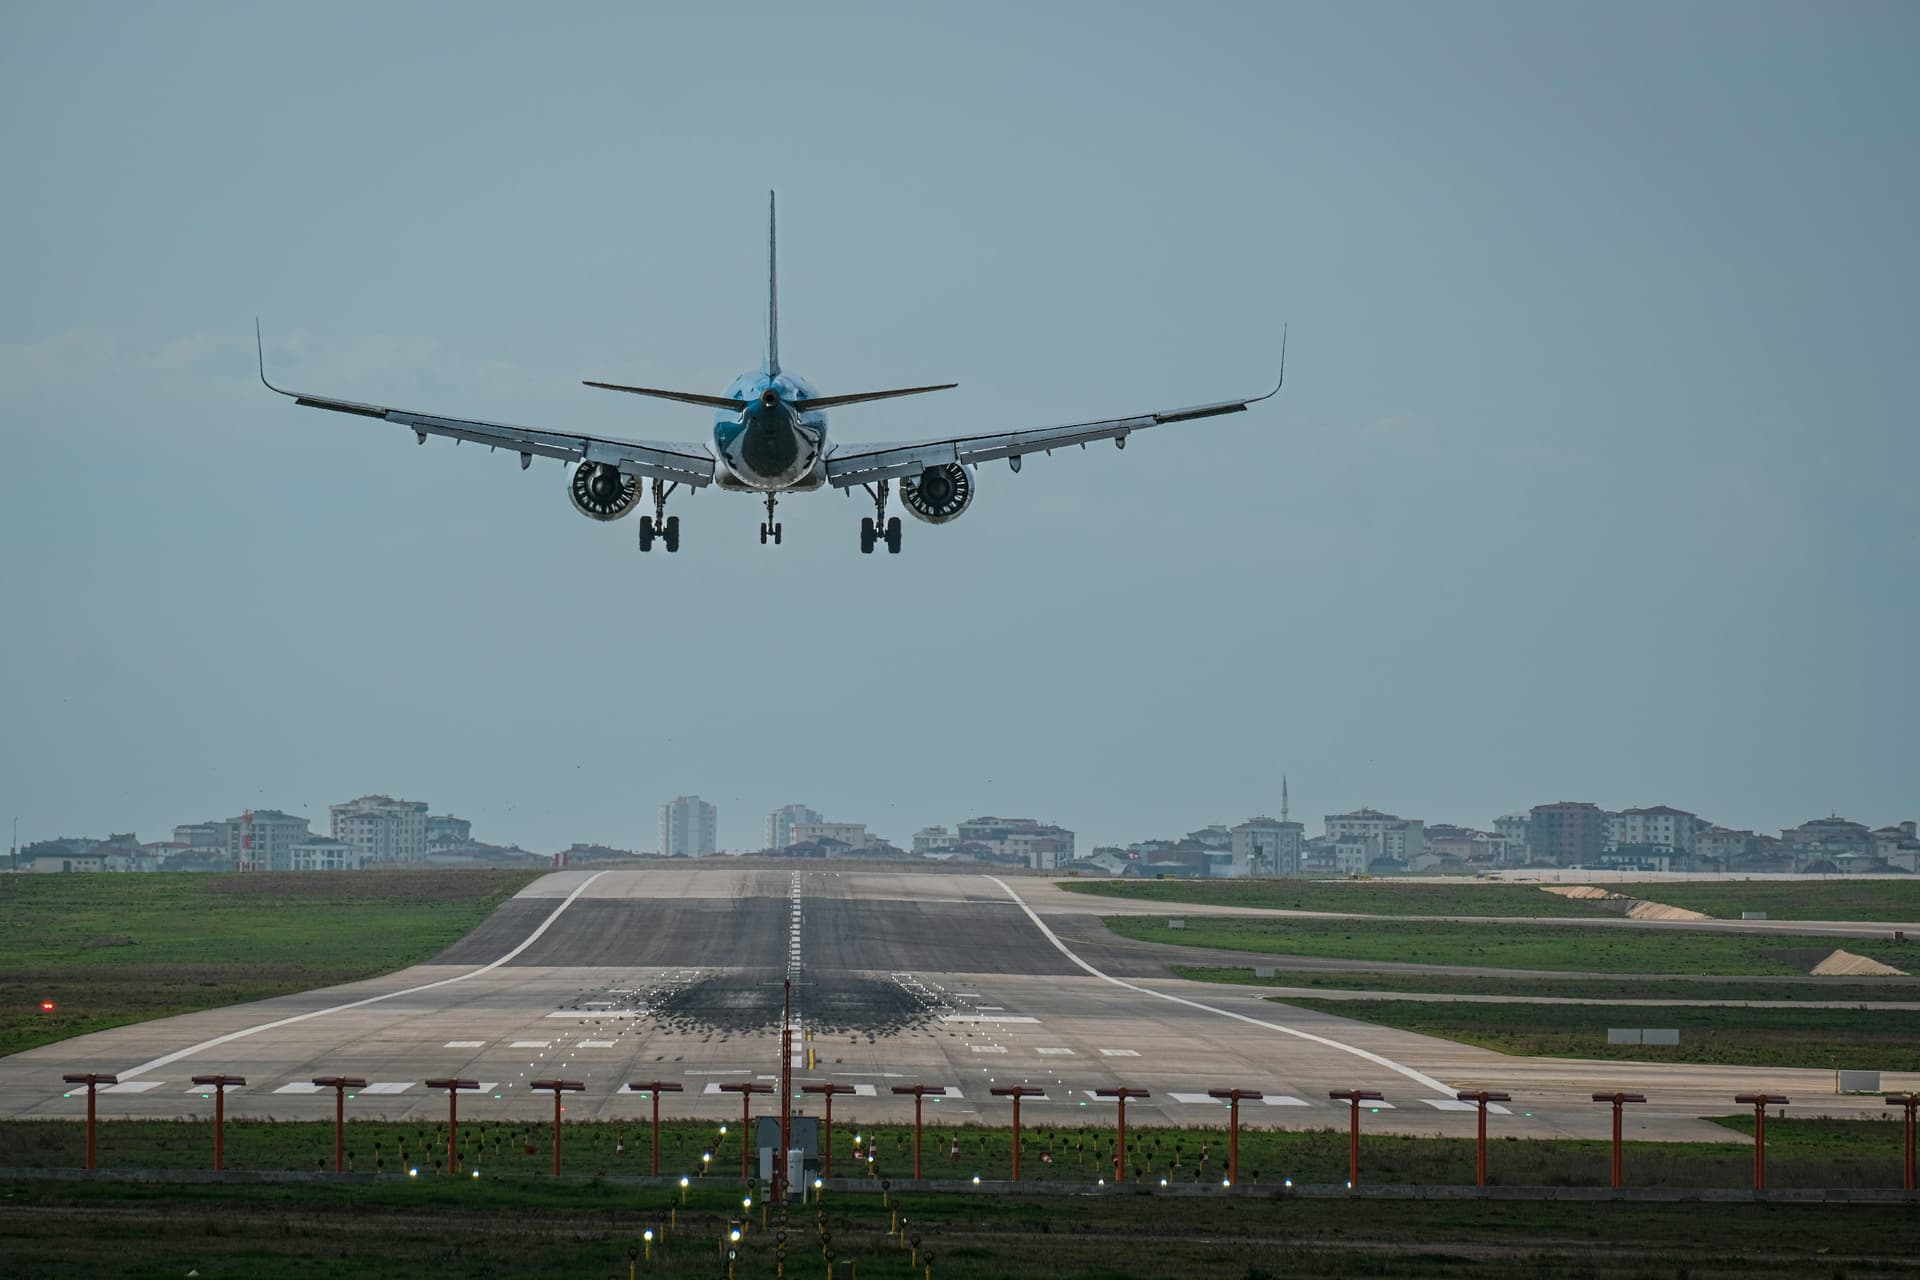
Narita and Haneda airports have rental counters in arrival areas. Providers like Ninja WiFi operate at multiple terminals. You can also pick up at central Tokyo electronics stores or have it delivered to your hotel. If you're deciding which airport to fly into, that guide covers the broader arrival logistics.
Airport pickup means 10-15 minutes without a line, 30-45 minutes during afternoon arrival rush (1pm-5pm when long-haul US/Europe flights land). Haneda is generally faster than Narita.
What it costs:
Daily rates vary dramatically by provider and promotions. Base rates run ¥440-1,980 per day, but promotional discounts (common) bring effective rates down to ¥440-770 per day. Longer rentals cost less per day.
For a 7-day trip, expect ¥3,000-14,000 depending on whether you access promotional pricing. A 14-day rental runs ¥6,000-28,000.
The return problem:
You must return the device by noon the day after your rental ends. Options:
-
Airport counter return: Risky if your departure is delayed
-
Postal return: Drop the prepaid envelope in any post box (most convenient)
Missing the return deadline triggers late fees. This deadline stress is what you're trading for multi-device sharing and zero SIM compatibility concerns.
Battery reality:
Basic devices last 4-6 hours. Mid-range devices go 6-12 hours. Premium options advertise up to 20 hours, often with included power banks. You'll need a charging strategy for full-day use.
Best for:
-
Groups of 3+ travelers splitting one device
-
Short trips (3-5 days) where total cost stays reasonable
-
Anyone who wants zero phone configuration
Not ideal for:
-
Solo travelers (expensive per person)
-
Long trips (cost accumulates)
-
Tight departure schedules (return deadline stress)
Physical SIM Cards: The Compatibility Gamble
Physical SIM cards avoid rental logistics. Buy it, insert it, keep or toss it when you leave. The gamble is whether your phone works with it.
Compatibility requirements:
Your phone must be carrier-unlocked. Locked phones (common if purchased through carriers like AT&T, Verizon, T-Mobile) won't accept a Japanese SIM. Most phones use nano-SIM, but check yours. Some older phones don't support dual-SIM, so you'll lose access to your home number.
Where to buy:
-
Airport: Narita and Haneda have vending machines and retail counters in arrival areas
-
Central Tokyo: Yodobashi Camera Shinjuku, Bic Camera, Yamada Denki locations
-
Convenience stores: Some 7-Eleven, FamilyMart, Lawson stores in tourist areas (limited selection)
What it costs:
-
7-day plan (1GB/day or 3-5GB total): ¥2,000-4,500
-
14-15 day plan (1GB/day): ¥4,000-4,500
-
30-day plan (3GB total): ¥2,000-2,500
Airport prices run higher than pre-ordering online. Many travelers buy 30-day plans for 14-day trips because the price difference is minimal.
Setup time:
Some SIM cards work immediately. Others require manual APN configuration through your phone settings—5-20 minutes depending on your tech comfort. First-time users should expect 10-15 minutes.
Networks:
Tourist SIM cards use NTT Docomo, Softbank, or au networks. Coverage quality is excellent throughout Tokyo.
Best for:
-
Unlocked phones
-
Travelers who want moderate data without rental returns
-
Anyone uncomfortable with eSIM technology
Not ideal for:
-
Locked phones (it won't work)
-
iPhones XS/XR or newer where eSIM is simpler
-
Very short stays (not cost-effective)
eSIM: The Setup-Competence Barrier
eSIM eliminates physical cards. Scan a QR code, activate a digital SIM profile. No airport pickup, no card swapping, no disposal.
The barrier? Setup competence.
Device requirements:
-
iPhones: XS, XS Max, XR (2018) or newer support eSIM
-
Android: Varies by model. Samsung Galaxy S20+, Google Pixel 3+ generally work. Many mid-range and budget Android phones do NOT support eSIM. Check your specific model.
-
Carrier unlock: Even eSIM phones must be carrier-unlocked
How it works:
Buy a plan from providers like Airalo, Ubigi, or Holafly. You receive a QR code by email. Open your phone's camera, scan the code, follow prompts to add a cellular plan. The eSIM downloads and activates when you land in Japan.
Activation complexity:
For tech-comfortable users familiar with mobile settings: 2-5 minutes.
For first-time eSIM users: 10-20 minutes, potentially more if troubleshooting is needed. You'll be managing carrier profiles, understanding primary vs secondary lines, and configuring data roaming settings. If you've never done this before, arrival at Narita isn't the ideal learning environment.
What it costs:
-
7-day plans: ¥1,000-3,500 depending on data amount (1GB vs 10GB vs unlimited)
-
14-15 day plans: ¥2,500-5,000
-
Unlimited plans cost more but avoid data anxiety
Airalo, Ubigi, and Holafly are established providers with multiple plan options.
The setup failure mode:
Travelers who've never used eSIM before sometimes discover activation issues after landing, with no backup plan. This isn't common, but it happens. If you're not comfortable troubleshooting mobile settings, physical SIM or pocket WiFi are safer bets.
Best for:
-
Tech-comfortable travelers with compatible devices
-
Solo travelers (most cost-effective)
-
Anyone who wants to avoid airport pickup lines
-
Any trip length (flexible plans)
Not ideal for:
-
Older phones or incompatible Android models
-
Non-technical users uncomfortable with phone settings
-
Anyone who hasn't tested eSIM activation before traveling
Cost Breakdown by Trip Length
Costs converge or diverge dramatically depending on trip length.
| Trip Length | Pocket WiFi | Physical SIM | eSIM |
|---|---|---|---|
| 3 days | ¥1,300-3,000 | ¥2,000-3,000 | ¥1,000-2,000 |
| 7 days | ¥3,000-14,000 | ¥2,000-4,500 | ¥1,000-3,500 |
| 14 days | ¥6,000-28,000 | ¥4,000-4,500 | ¥2,500-5,000 |
For very short trips, eSIM wins on cost. Pocket WiFi is competitive if you access promotional pricing. Physical SIM and eSIM become clearly cheaper for 7+ days—pocket WiFi cost depends entirely on whether you book promotional rates or pay base rates.
For longer stays, pocket WiFi's daily accumulation makes it expensive. Physical SIM and eSIM costs plateau because you're buying 14-30 day plans. Most plans are 7-day minimum, so 3-day travelers often pay for unused days.
Group cost-sharing:
Pocket WiFi becomes more attractive for groups. Three travelers splitting a ¥10,000/7-day rental pay ¥3,300 each—competitive with individual SIM/eSIM options.
The convenience tax:
Total cost includes the stress cost. Saving ¥5,000 over two weeks matters differently to different travelers. Pocket WiFi's return deadline creates departure-day anxiety. eSIM's setup complexity creates arrival-day anxiety. Physical SIM's compatibility uncertainty creates pre-trip anxiety. Pick the anxiety that bothers you least.
The First-Day Setup Trap
First-afternoon timing matters more than most travelers realize. Connectivity acquisition consumes arrival-day time:
| Location/Method | Time Required | Notes |
|---|---|---|
| Narita pickup (no line) | 10-15 minutes | Best case scenario |
| Narita pickup (peak) | 30-45 minutes | Afternoon arrivals 1-5pm when US/Europe flights land |
| Haneda pickup | 15-30 minutes | Generally faster; smaller international terminal, less congestion |
| Physical SIM activation | 5-20 minutes | Depends on whether APN configuration required |
| eSIM activation | 5-20 minutes | Longer for first-time users troubleshooting settings |
These numbers assume everything works. Technical issues extend timing significantly.
If you land at 2pm and spend 45 minutes on connectivity, you're arriving at your hotel by 4-5pm (accounting for train time). Your first evening is now compressed. The Narita Express last departure timing matters if you're buying at city stores instead of the airport. Connectivity setup is just one piece of arrival-day logistics—if you're wondering how to structure your entire first day in Tokyo effectively, that guide walks through the decisions that matter.
The trade-off: Is saving ¥1,000 on a cheaper option worth losing 30-60 minutes of your first afternoon?
Pre-ordering and airport pickup minimize time loss. Trying to optimize by buying at city stores (to avoid airport markup) often backfires when you're jet-lagged and navigating without data for the first hour.
Coverage Reality: Where All Three Options Work (And Don't)
Coverage differences between pocket WiFi, physical SIM, and eSIM are minimal in Tokyo. All three use Japan's major carriers (NTT Docomo, Softbank, au) and provide excellent coverage throughout the metro area.
Where signal struggles:
-
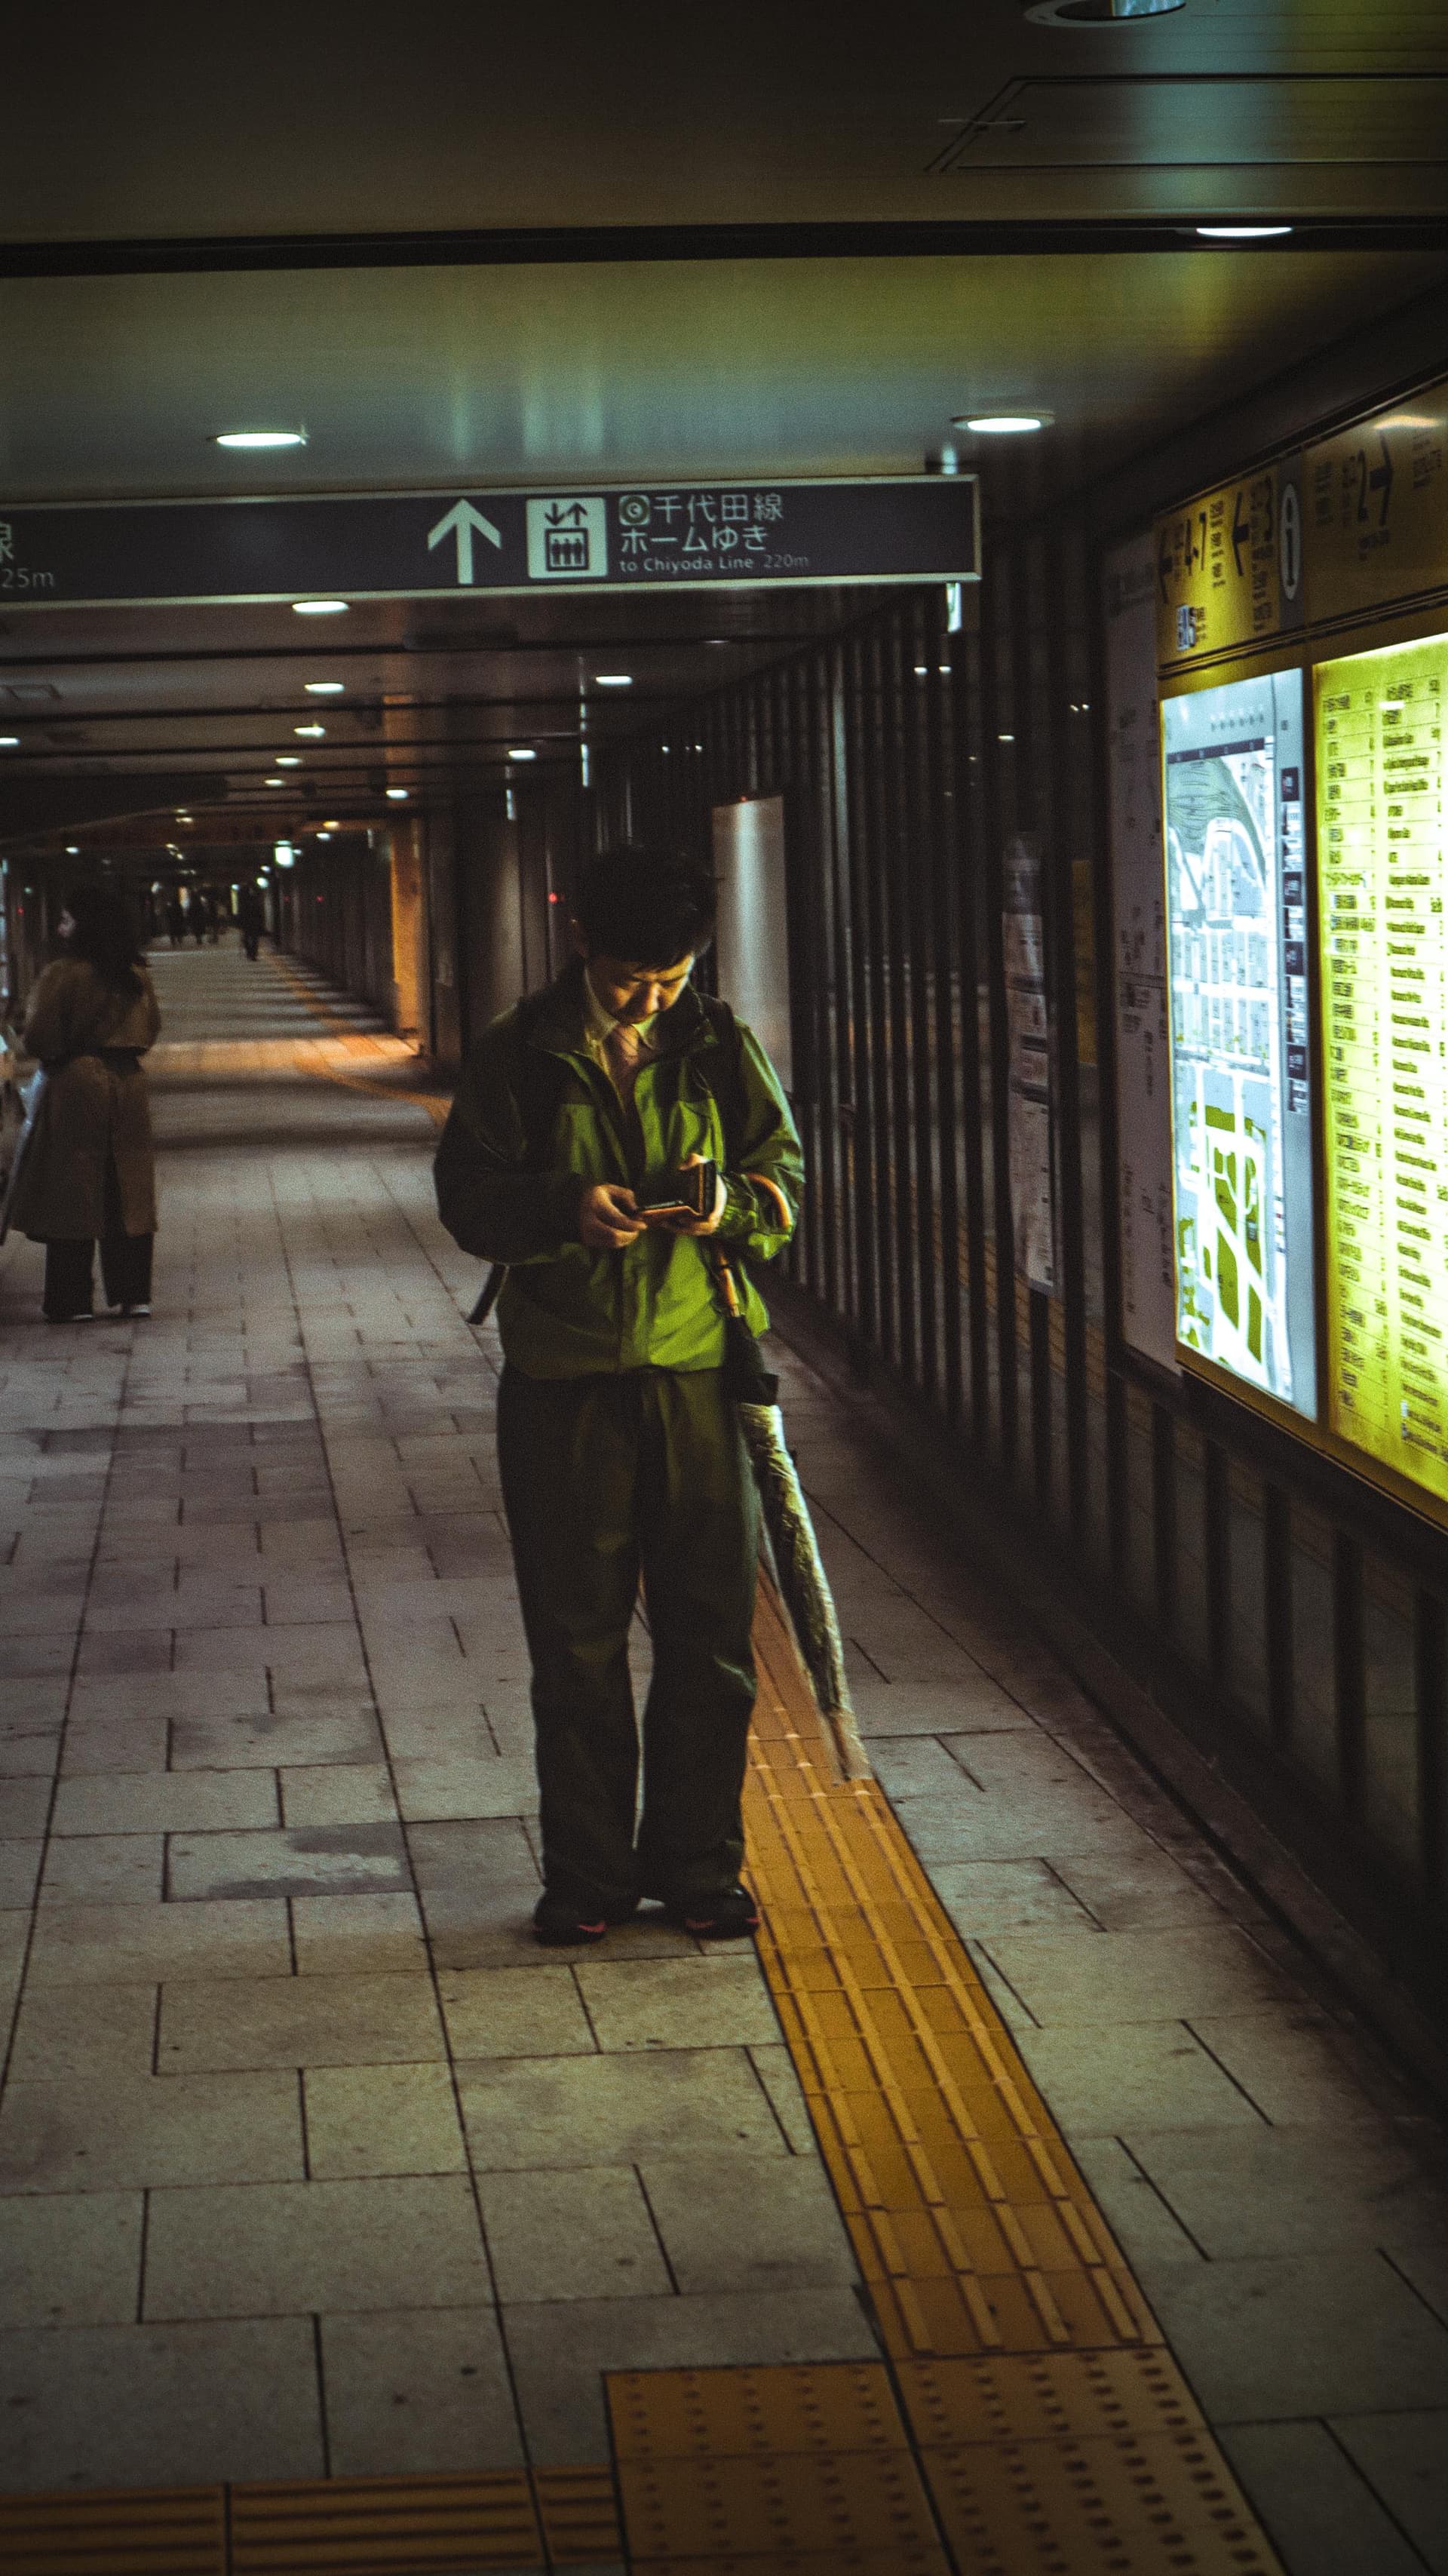
Deep subway sections between stations: The Oedo Line's tunnels (deepest in Tokyo, up to 42 meters below surface) lose signal between stations
-
Basement restaurants and shops: Some building basements in older neighborhoods
-
Dense building interiors: Older areas like Yanaka occasionally have dead spots inside buildings
These are brief interruptions, not extended dead zones. Signal returns within minutes.
WiFi as backup:
When signal drops, you can often find WiFi at convenience stores, Starbucks, hotel lobbies, or major stations. But this is sporadic—not a replacement for cellular data.
The real decision factors:
Coverage is not your differentiator. All three options work reliably. Focus on:
-
Logistics (pickup/return burden)
-
Cost (trip length matters)
-
Setup complexity (your tech comfort)
Connectivity solves the data access problem, but not the navigation decision problem—knowing which train to take still requires constant planning and mental overhead. For travelers who want to eliminate that cognitive load entirely, a private guide handles all navigation decisions.
Which Option for Your Trip
Match the option to your circumstances.
| If You... | Choose | Why |
|---|---|---|
| Traveling as group of 3+ people | Pocket WiFi | Cost-sharing makes it competitive; one device for everyone |
| Trip is short (3-5 days) | Pocket WiFi | Total rental cost stays reasonable for short duration |
| Want zero phone configuration | Pocket WiFi | No compatibility concerns or setup complexity |
| Have unlocked phone, want moderate data | Physical SIM | Avoid rental logistics; works for 7+ day trips |
| Uncomfortable with eSIM technology | Physical SIM | Simpler than eSIM, avoids digital activation |
| Have iPhone XS/XR+ or compatible Android | eSIM | Most cost-effective per person; any trip length |
| Tech-comfortable, traveling solo | eSIM | Avoid airport lines; flexible plan options |
| Want to skip airport pickup entirely | eSIM | Activate before landing; no counter visits |
Additional considerations:
If you're unsure about compatibility: Physical uncertainty creates pre-trip stress. If you're not certain your phone is unlocked, or you've never used eSIM before, pocket WiFi eliminates the risk entirely. The cost premium buys peace of mind.
If you're arriving during peak times: Afternoon arrivals at Narita (1-5pm) face the longest pickup lines. Pre-ordering pocket WiFi or pre-buying eSIM reduces wait time. Physical SIM from airport vending machines is faster than counter service.
If you're uncomfortable with mobile settings: Tokyo arrival—jet-lagged, navigating a new transit system—is not the time to learn eSIM activation for the first time. Physical SIM or pocket WiFi are more forgiving.
This guide is published by Hinomaru One, a Tokyo-based private tour operator.