Build confidence navigating Tokyo by understanding how its maps are designed to be read.
Knowing how to read Tokyo maps is the single skill that turns a confusing first day into a confident one—most navigation failures come from misreading station exits, not wrong destinations.
Quick Reference: 5 Actionable Tips
Most actionable Tokyo map-reading tips:
- Screenshot station exit maps before your trip - GPS fails inside stations
- Use convenience stores and police boxes (koban) as reliable landmarks
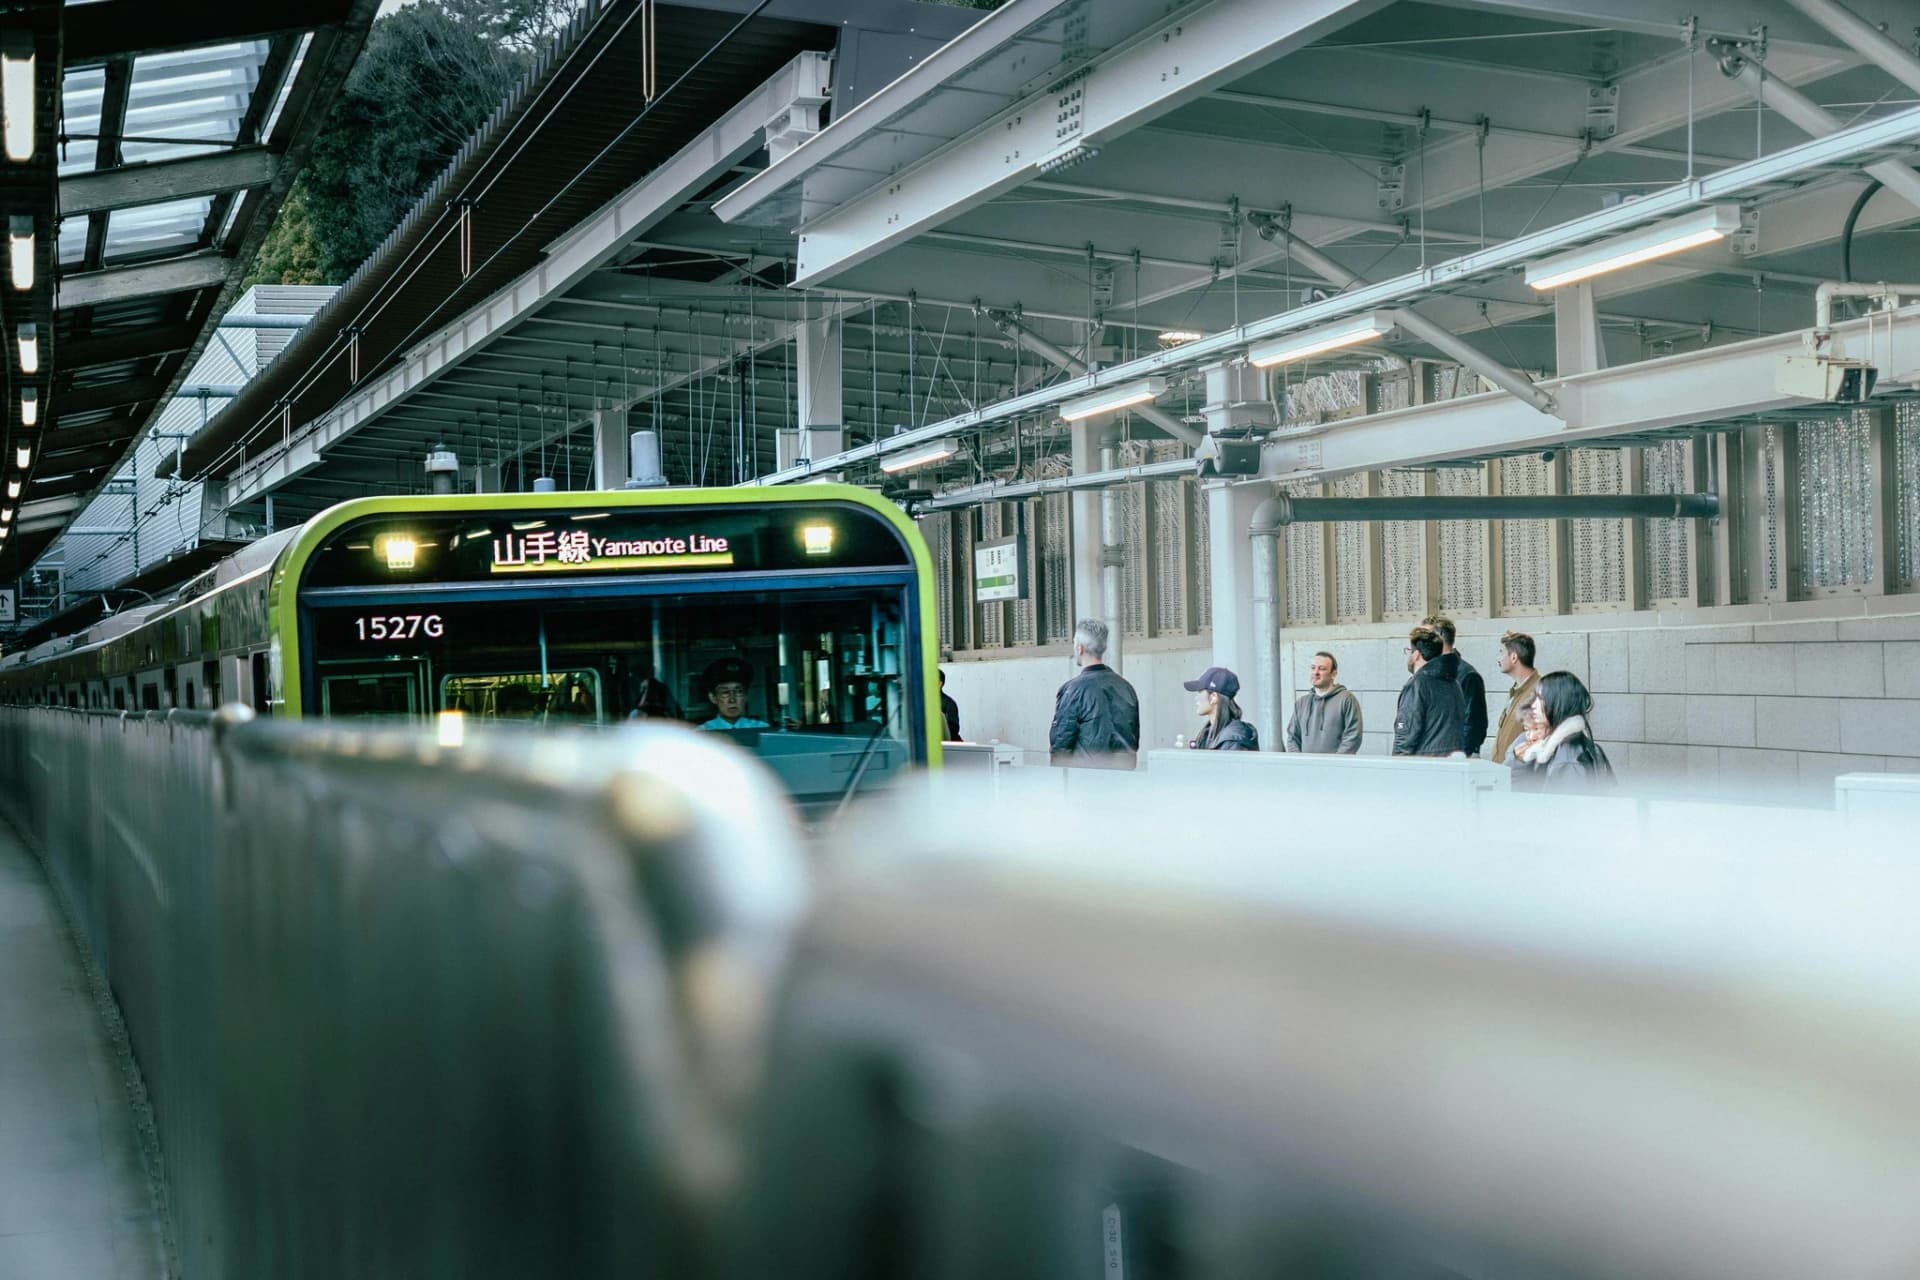
- Memorize transit line colors - Green = Yamanote Line, Orange = Ginza Line
- Addresses show construction order, not location - use landmarks, not sequential numbers
- Budget extra time for complex stations - Shinjuku transfers take 15-20 minutes
Quick Start: 5 Most Important Map-Reading Skills
Before diving into details, master these five essential skills that will save you hours of confusion:
- Exit before arrival: Screenshot station exit maps before your trip
- Landmark navigation: Use convenience stores, police boxes, and department stores as reference points
- Color coding: Memorize key transit line colors (Green = Yamanote Line, Orange = Ginza Line, etc.)
- Block system: Understand Tokyo's block-based addresses don't follow street logic
- GPS backup: Have offline maps ready for station interiors where GPS fails
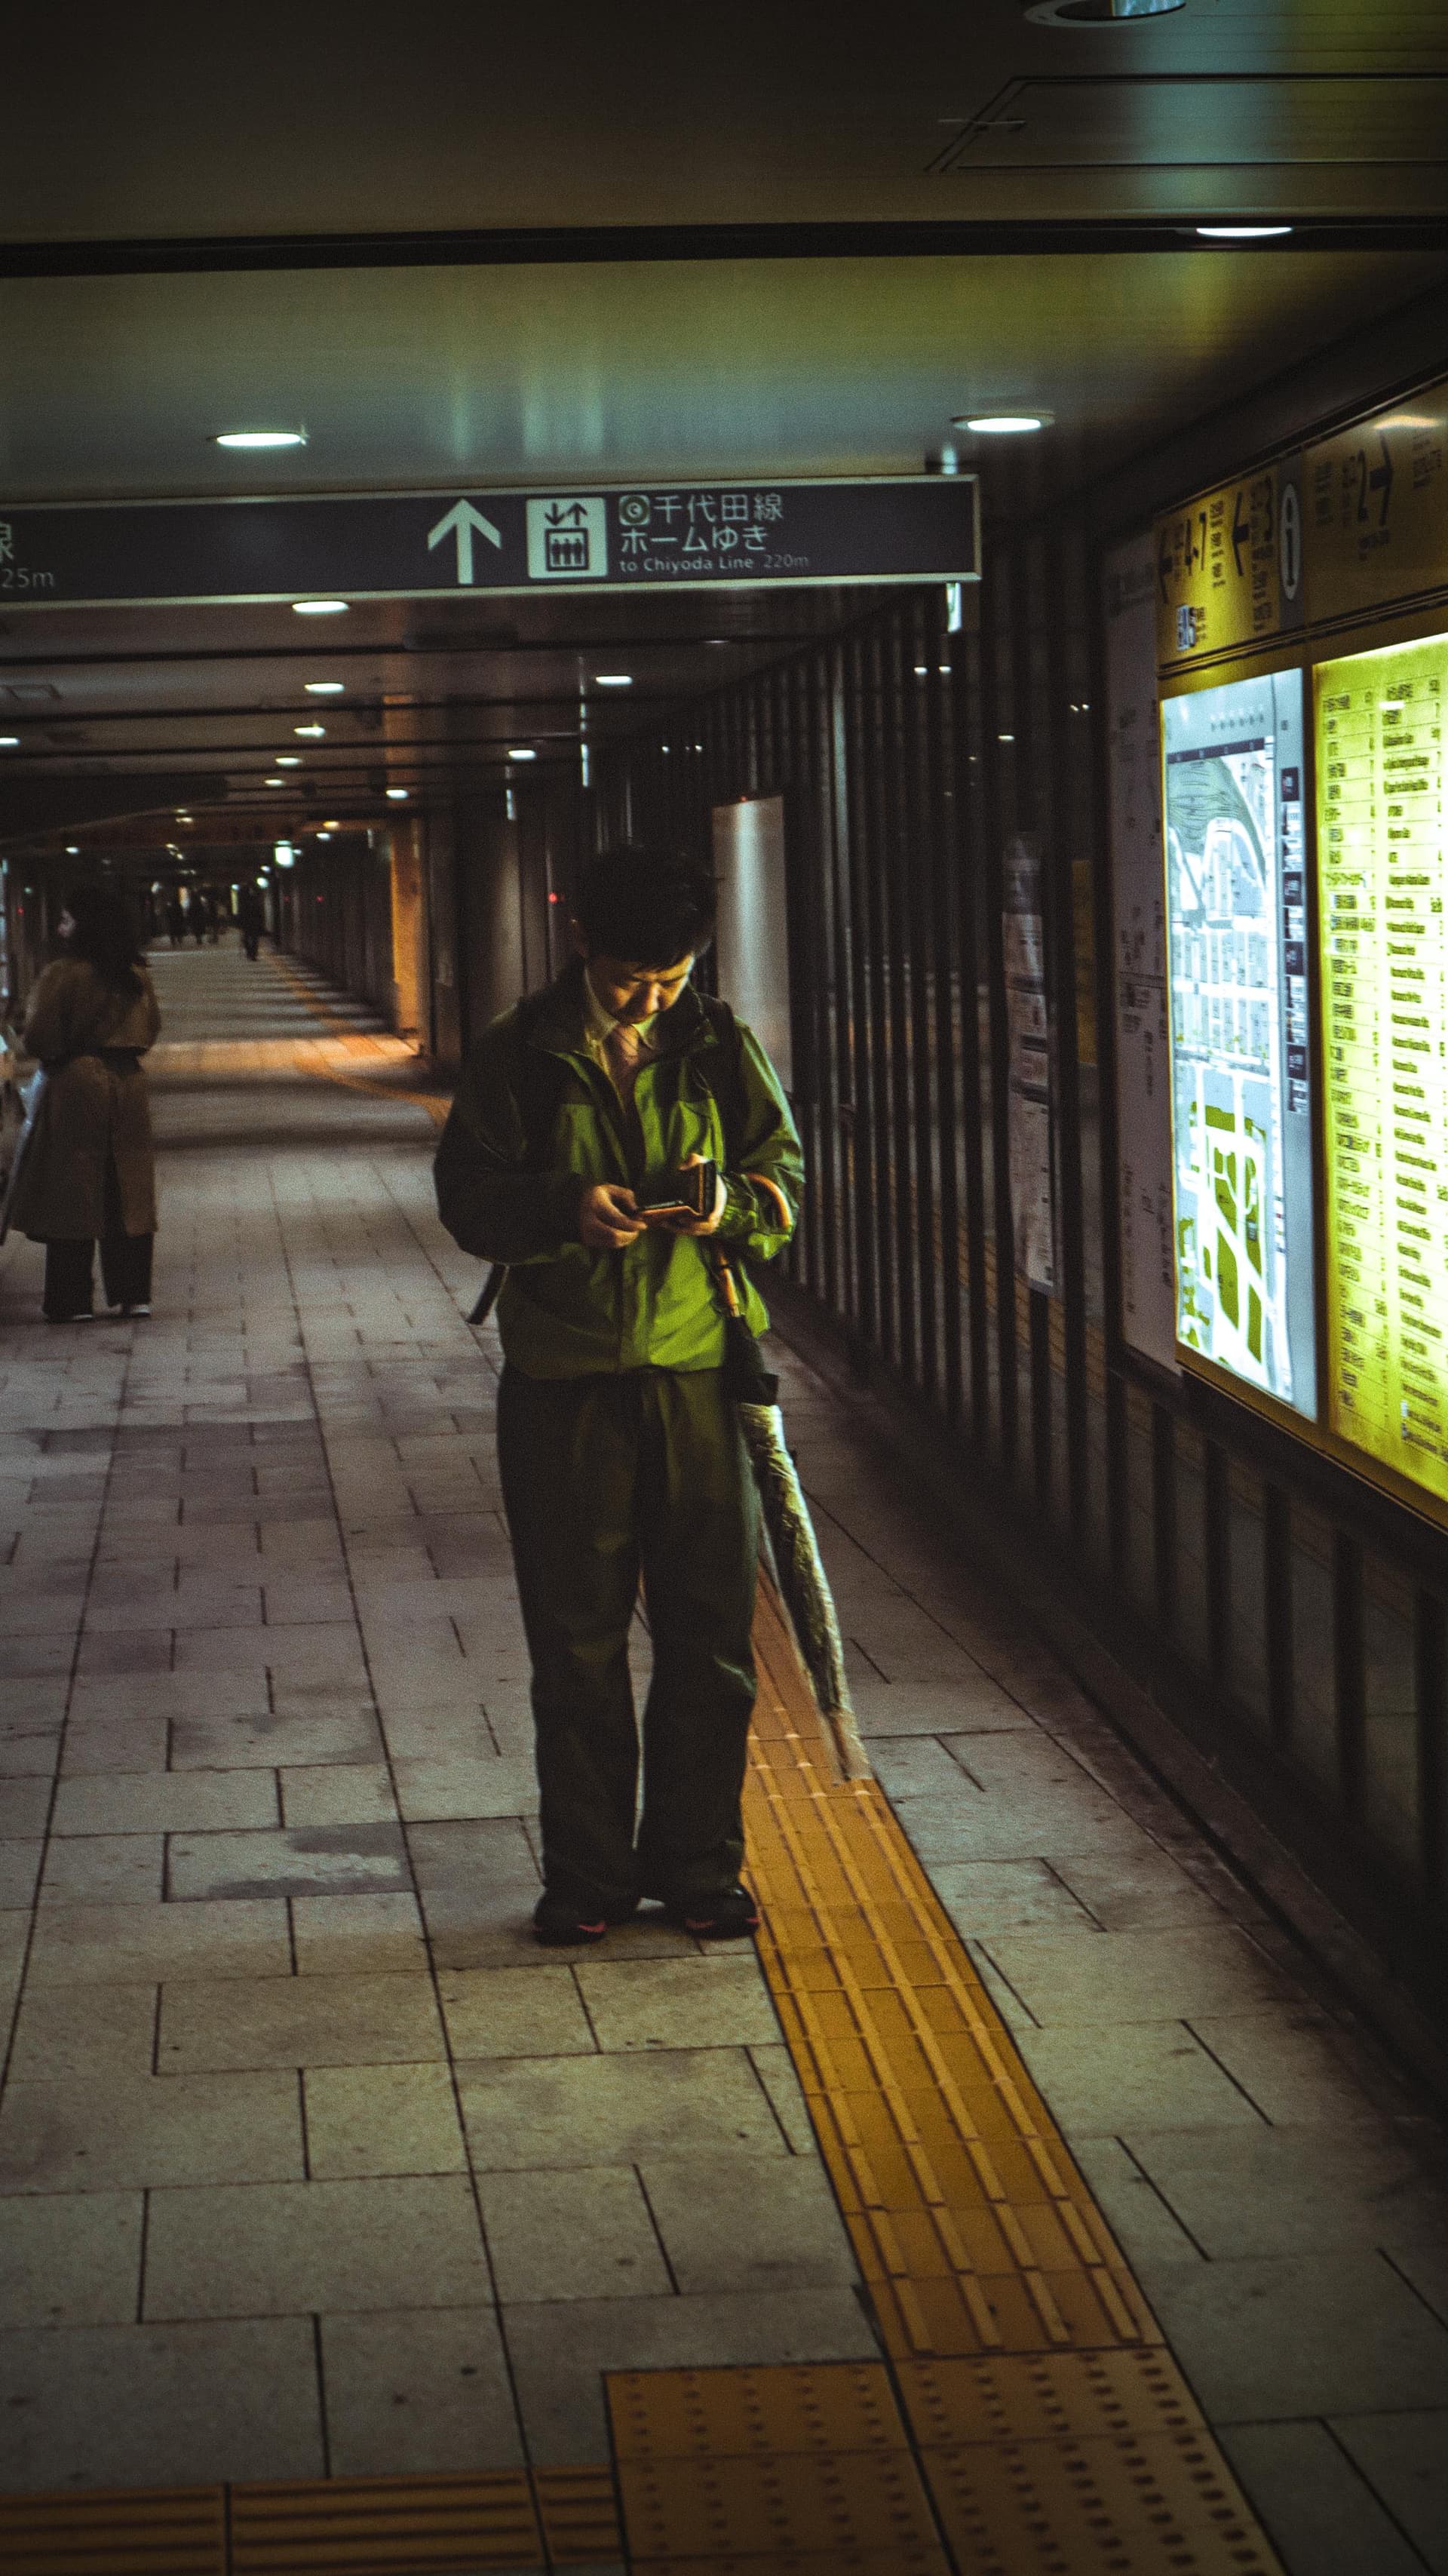
Part 1: Station Maps - Your Most Critical Skill
Understanding Station Exit Symbols and Systems
Tokyo stations use letter-number combinations (A1, B3, etc.) that follow specific logic:
| Symbol Type | What It Means | Practical Application |
|---|---|---|
| Letters (A, B, C, etc.) | Direction or area within station | A = East side, B = West side at many stations |
| Numbers (1, 2, 3, etc.) | Position along passage or construction order | Lower numbers often closer to central area |
| Compass directions | Major exits (East, West, South, North) | Use for major landmarks and hotels |
| Special names | Famous exits (Hachiko Exit at Shibuya) | Tourist destinations often use these |
Actionable tip: At Shinjuku Station, "E" exits lead east toward Kabukicho and hotels, while "W" exits lead west toward government buildings.
How to Orient Yourself When Exiting Stations
Follow this 3-step process every time you exit a station:
- Pause at the ticket gate: Look up for the large exit map above the gates
- Find your destination: Locate it on the map and note the recommended exit
- Follow colored lines: Many stations have colored lines on the floor leading to specific exits
Common mistake to avoid: Don't follow the crowd - commuters are heading to workplaces, not tourist destinations.
Key Station Exit Maps to Study Before Your Trip
| Station | Critical Exits to Know | What They Lead To |
|---|---|---|
| Shinjuku | East Exit (E1-E8), West Exit (W1-W5), South Exit | East: Kabukicho, hotels. West: Government, buses. South: Bus terminal |
| Shibuya | Hachiko Exit, Miyamasuzaka Exit, Exit 15 | Hachiko: Scramble crossing. Miyamasuzaka: Shopping. Exit 15: Buses |
| Tokyo Station | Marunouchi Exit, Yaesu Exit | Marunouchi: Imperial Palace. Yaesu: Shinkansen, business district |
| Ikebukuro | East Exit, West Exit | East: Sunshine City. West: Shopping streets |
Pro tip: Screenshot these exit diagrams from Google Maps before your trip. Zoom in on the station, click on it, and look for "Exit" information.
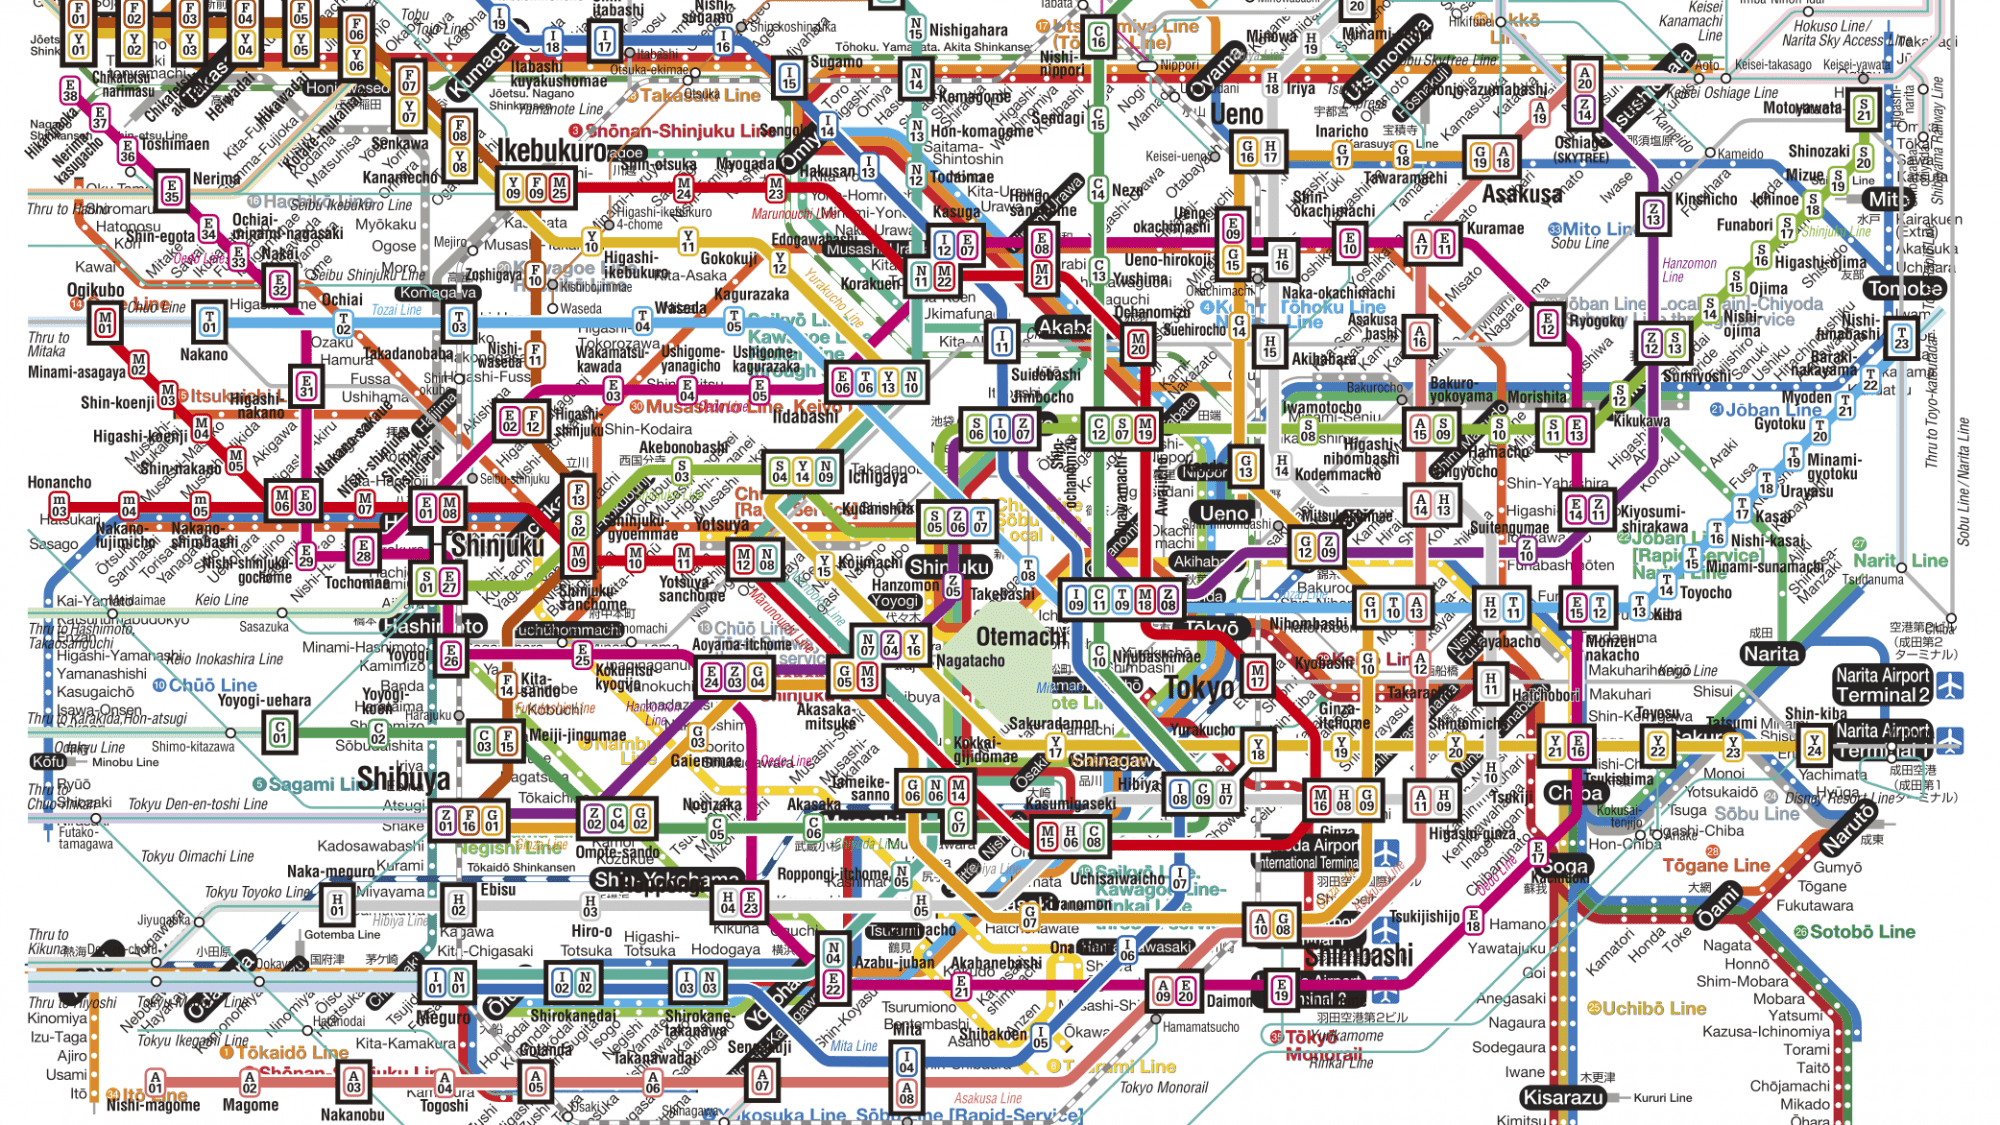
Part 2: Transit Maps - Lines, Colors, and Transfers
Decoding Tokyo's Color-Coded Transit System
Each transit line has a specific color used on maps, signs, and trains:
| Line | Color | Key Destinations | How to Recognize It |
|---|---|---|---|
| Yamanote Line | Green | Circles central Tokyo (Shinjuku, Shibuya, Tokyo, Ueno) | Bright green circles on maps, green trains |
| Ginza Line | Orange | Ginza, Asakusa, Shibuya | Orange circles, Tokyo's oldest subway line |
| Chuo Line | Orange | Tokyo to Shinjuku (rapid service) | Orange on JR maps, different from Ginza Line |
| Oedo Line | Magenta | Shinjuku, Roppongi, Tsukiji | Magenta circles, circular subway route |
| Marunouchi Line | Red | Tokyo Station, Shinjuku, Ginza | Red circles, serves business districts |
Actionable guidance: When transferring, follow the colored lines painted on platform floors and station walls.
Understanding Transfer Symbols and Walking Times
Transit maps use specific symbols to indicate transfers:
| Symbol | Meaning | Practical Implication |
|---|---|---|
| Overlapping circles | Same-station transfer | Usually 2-5 minute walk |
| Connected circles | Nearby stations | 5-10 minute walk, sometimes underground |
| Dashed line | Recommended walking route | Follow signs for this specific transfer |
| "Exit and re-enter" | Different operators | Need to tap out and in, pay separate fare |
Critical transfers that need extra time:
- Shinjuku JR to Oedo Line: 5-7 minutes through underground passages
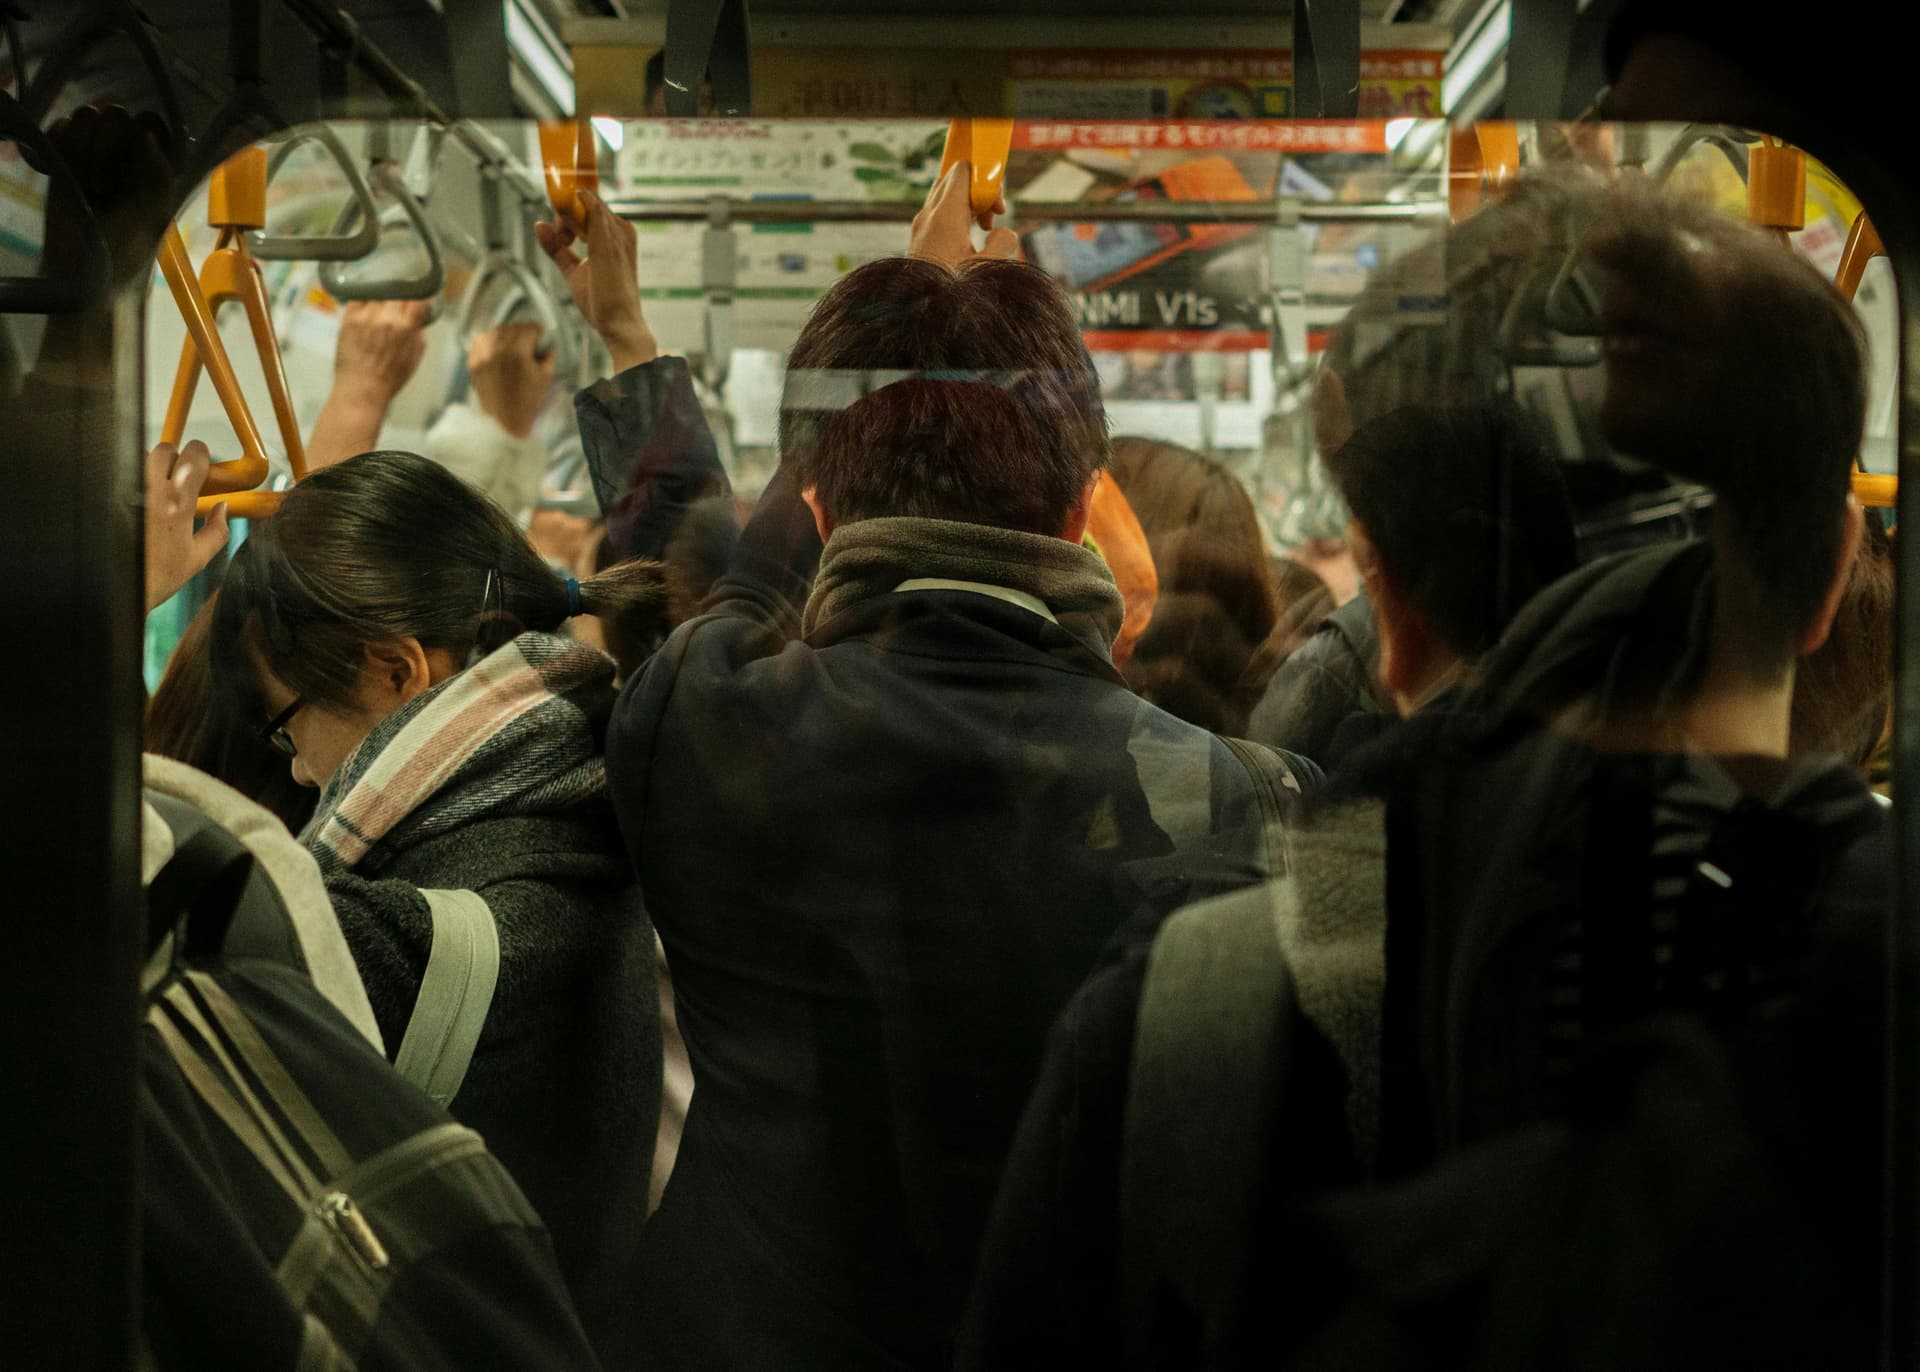
- Shibuya surface to underground lines: 10+ minutes for first-timers
- Tokyo Station Marunouchi to Yaesu: 10-15 minutes across the station
Reading Platform Maps and Signs
As you exit the train, immediately look for:
- Platform wall maps: Show all exits from your specific platform
- Pillar maps: Located throughout passages, show local exits
- Overhead signs: Directional signs with exit numbers
- Floor markings: Colored lines leading to specific exits or transfers
Best practice: Take a photo of the platform map when you arrive. This gives you a reference if you get disoriented in passages.
Part 3: Street and Neighborhood Maps
Tokyo's Block-Based Address System Explained
Unlike Western cities, Tokyo addresses work like this:
- District name: Shibuya, Shinjuku, etc.
- Block number: 2-chome, 3-chome, etc.
- Building number: 12, 15, 8 (based on construction order, not location)
Practical implication: Building 2-15-8 might be next to 2-3-1. You need landmarks, not sequential addresses.
Key Landmarks to Look For When Navigating
Use these reliable landmarks for orientation:
| Landmark Type | Examples | Why They're Useful |
|---|---|---|
| Convenience stores | 7-Eleven, Family Mart, Lawson | On nearly every corner, brightly lit, visible at night |
| Police boxes (koban) | Small police stations | Bright colors, staffed 24/7, have detailed local maps |
| Department stores | Isetan, Takashimaya, Mitsukoshi | Large buildings, often connected to stations |
| Train stations | Even small local stations | Clear reference points visible from distance |
| Parks and temples | Shrines, small parks | Open spaces that break up dense urban areas |
Navigation phrase template: "From [Station] Exit [Number], walk past [Landmark], turn left at [Second Landmark], it's the building with [Distinctive Feature]."
Common Map Types Tourists Encounter
| Map Type | Where Found | How to Use It |
|---|---|---|
| Station vicinity maps | Inside stations, near exits | Shows immediate area (200-500m radius) with key buildings |
| Tourist area maps | Hotels, tourist information centers | Highlights attractions, often not to scale |
| Shopping complex maps | Department stores, underground malls | Focuses on stores, restaurants within complex |
| Neighborhood walking maps | Local businesses, cafes | Shows backstreets and small establishments |
| Digital overlay maps | Google Maps, Apple Maps | Use satellite view to recognize buildings |
Pro tip: When using paper maps, note that north isn't always at the top in Tokyo. Many tourist maps orient to the nearest station instead.
Part 4: Digital Maps and Technology
What Works (and Doesn't) with Digital Maps in Tokyo
| Tool | Works Well For | Limitations | Backup Strategy |
|---|---|---|---|
| Google Maps | Train routes, walking times between stations | Station interior navigation, correct exit selection | Screenshot exit diagrams beforehand |
| Apple Maps | Basic navigation, transit routes | Less detail on small streets, fewer local businesses | Use in combination with Google Maps |
| Japan Travel by Navitime | Complex transit routing, fare calculation | English interface can be clunky | Good for planning, not real-time navigation |
| Offline maps (Maps.me) | When data is unavailable | Doesn't show real-time transit updates | Download Tokyo area before trip |
GPS Dead Zones and How to Handle Them
GPS fails in these common situations:
- Inside major stations (Shinjuku, Tokyo, Shibuya interiors)
- Underground passages connecting stations to buildings
- Between tall buildings in dense areas like Shinjuku's skyscraper district
Backup strategies:
- Screenshot your route before entering stations
- Follow physical signs on walls and pillars
- Ask station staff at information booths (most speak basic English)
- Use station WiFi to reload maps before entering dead zones
Optimal Zoom Strategy for Digital Maps
| Situation | Optimal Zoom Level | What to Look For |
|---|---|---|
| Planning routes between stations | Zoomed out (city level) | Overall route, transfer points |
| Navigating within neighborhood | Medium zoom (500m radius) | Street layout, major landmarks |
| Finding specific building | Zoomed in (50m radius) | Only after you're on the correct block |
| Station exit selection | Maximum zoom on station | Exit numbers relative to your destination |
Common mistake: Zooming in too early shows building details before you're oriented to the block structure.
Part 5: Advanced Navigation Strategies
The Stations That Break Everyone (and How to Conquer Them)
| Station | Specific Challenge | Actionable Solution | Time to Budget |
|---|---|---|---|
| Shinjuku (200+ exits) | Multiple operators, different buildings | Use East Exit for hotels/Kabukicho, West Exit for government/buses | 15-20 min for transfers |
| Tokyo Station | Marunouchi vs Yaesu sides | Marunouchi for Imperial Palace, Yaesu for Shinkansen/business | 10-15 min cross-station |
| Shibuya | Vertical layout, multiple levels | Hachiko Exit for scramble crossing, other exits for specific areas | 10-12 min for operator changes |
| Ikebukuro | Less English signage | East Exit for Sunshine City, West Exit for shopping streets | Similar to Shibuya |
Strategy for all complex stations: Arrive 30 minutes early for timed connections. If carrying luggage or with family, consider a taxi from outside the station instead of navigating interiors.
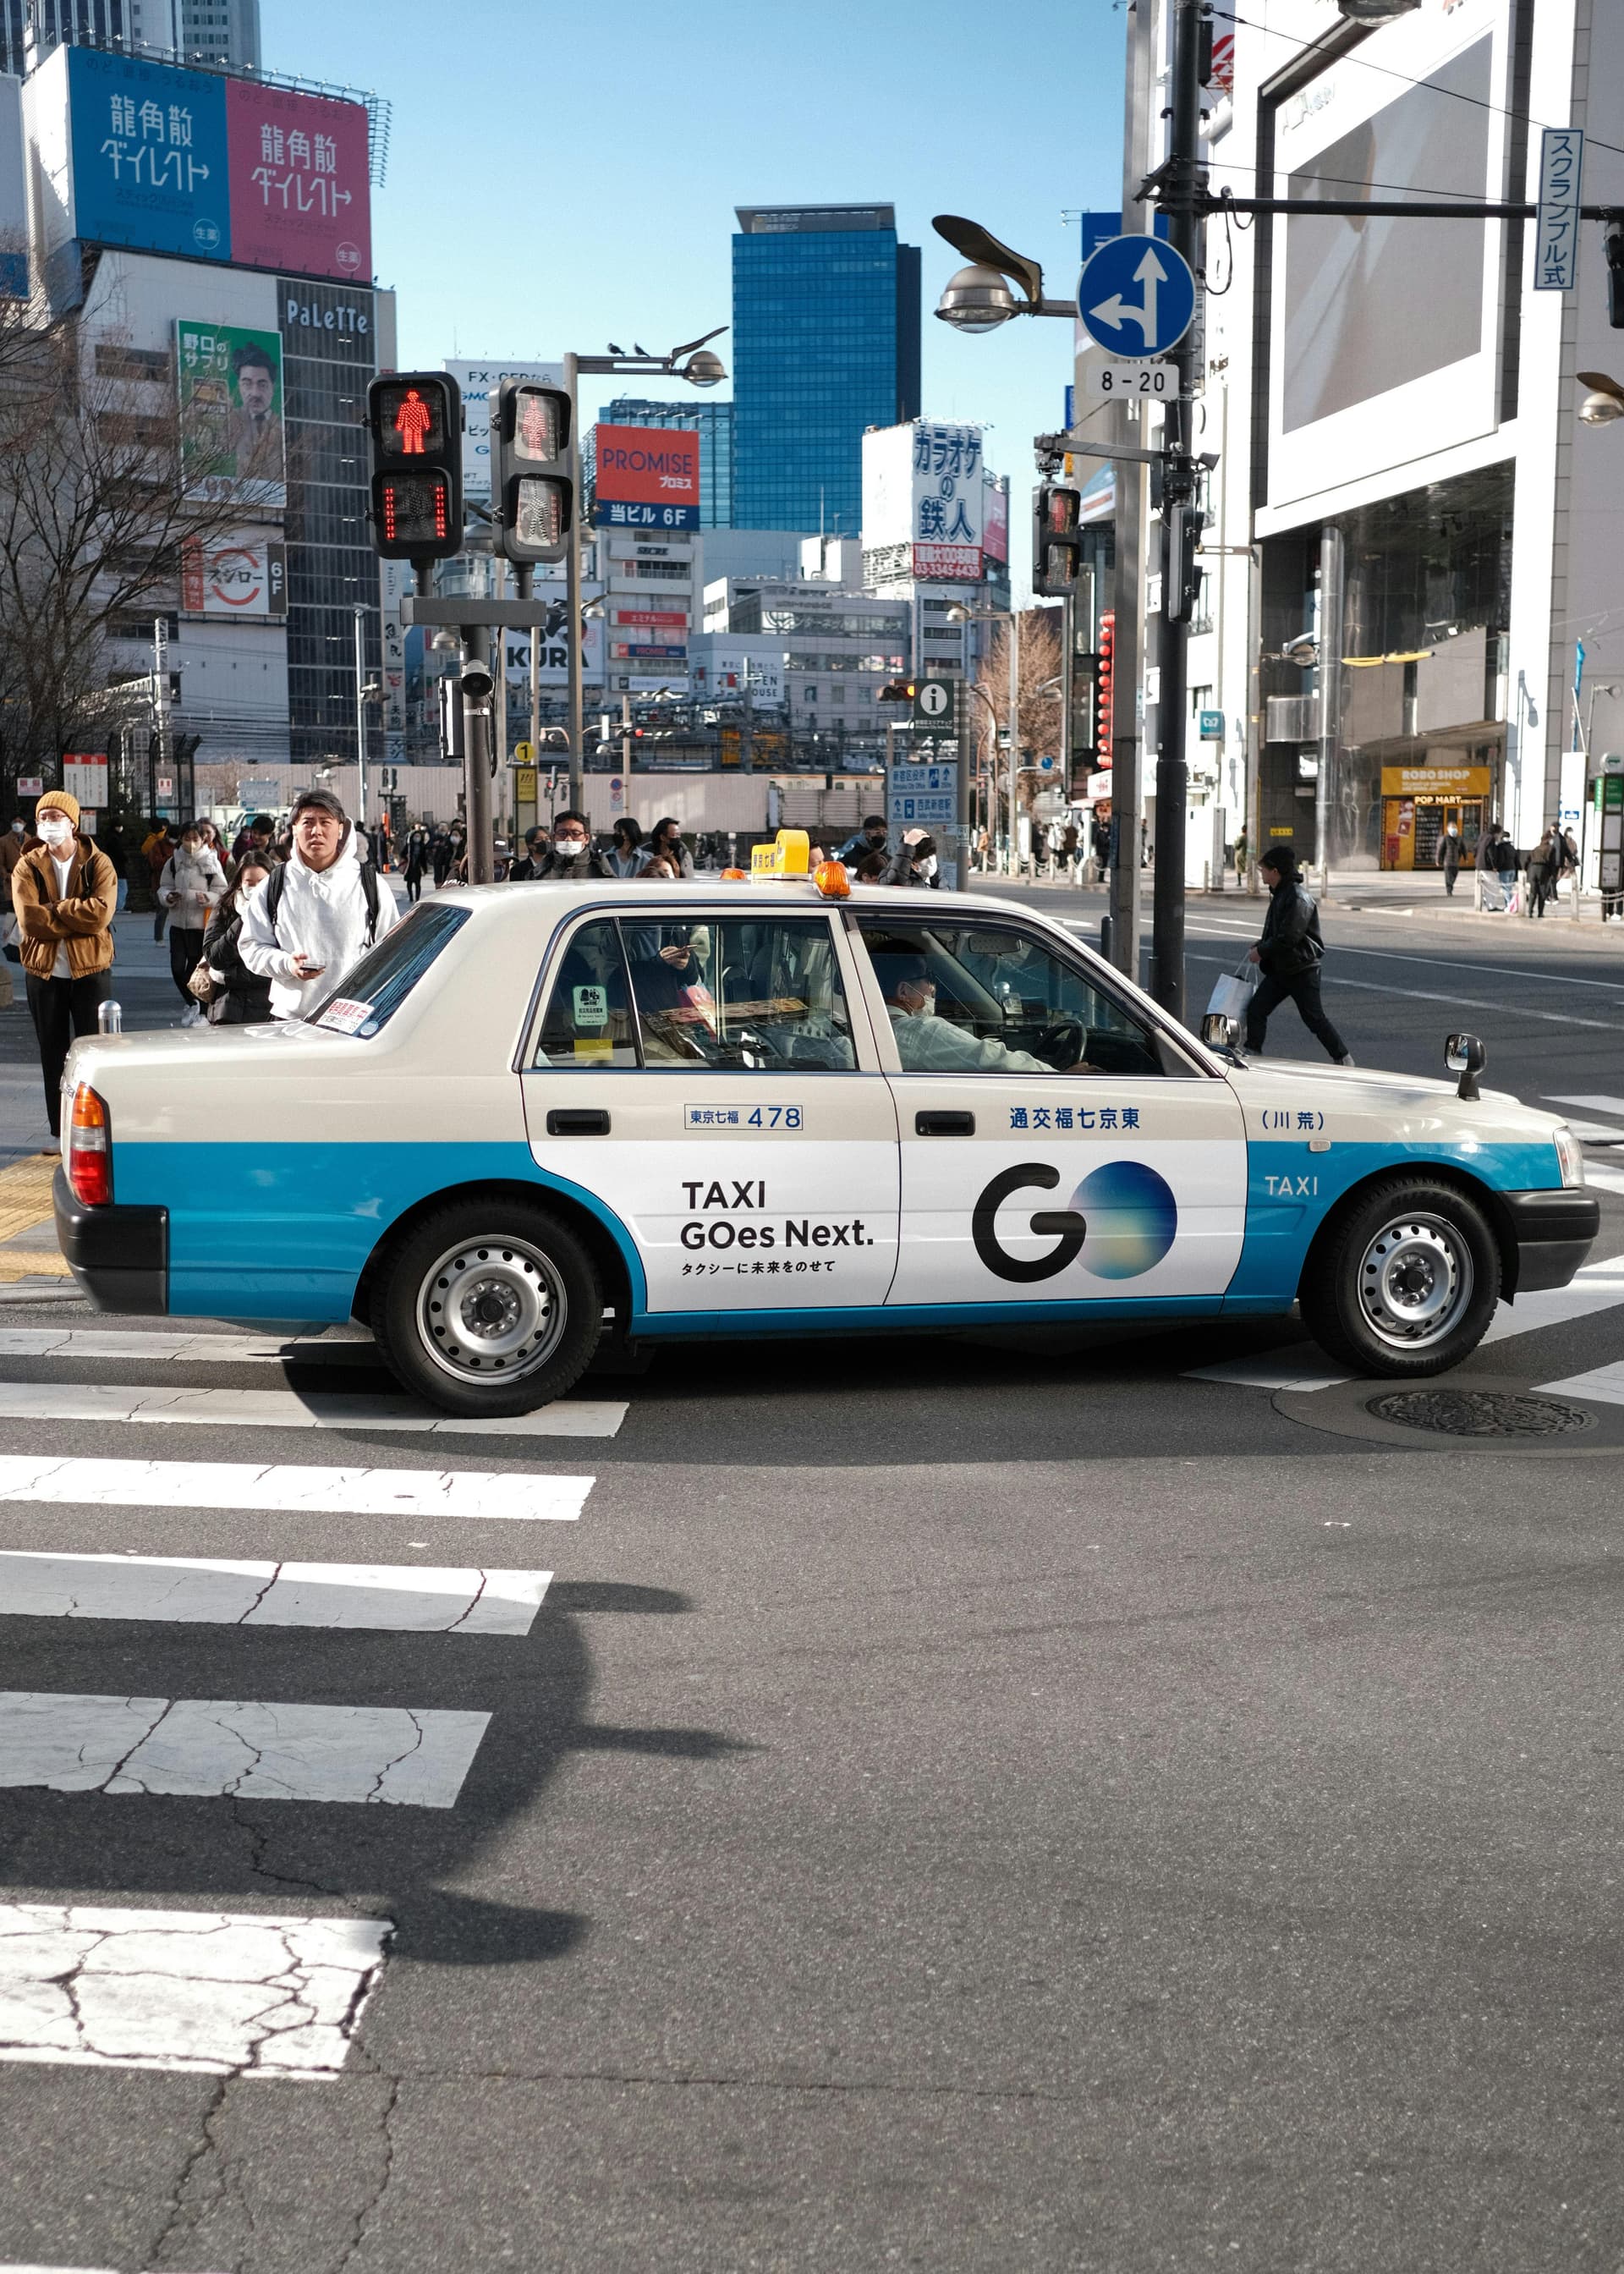
When to Use Taxis vs Public Transit
| Situation | Better Choice | Why | Cost Comparison |
|---|---|---|---|
| From airport with luggage | Taxi or airport limousine bus | Avoid navigating stations with bags | Taxi: ¥20,000+, Bus: ¥3,000 |
| Between major stations with bags | Taxi | Save time and energy | ¥1,000-2,000 for short distances |
| Late at night | Taxi | Trains stop around midnight | ¥2,000-4,000 depending on distance |
| Multiple people | Taxi | Often cheaper than individual train fares | 4 people = similar cost to train |
Navigation with Mobility Limitations
Tokyo stations have elevators but they're not always conveniently located:
- Research accessible routes before your trip using station accessibility maps
- Look for elevator symbols on station maps (usually wheelchair icon)
- Ask station staff for assistance - they can guide you to elevators
- Consider taxis for station-to-station travel to avoid transfers
Part 6: Practical Exercises and Quick Reference
Pre-Trip Preparation Checklist
-
Screenshot these key station exits:
- Shinjuku East Exit map
- Shibuya Hachiko Exit area
- Tokyo Station Marunouchi vs Yaesu
- Your hotel's nearest station exit
-
Download offline maps of central Tokyo
-
Bookmark these resources:
- Tokyo Metro official map (PDF)
- JR East map (English version)
- Your hotel's location on Google Street View
-
Practice with these addresses (try to find them on maps):
- Shibuya 2-24-12 (Shibuya Scramble Square)
- Shinjuku 3-38-1 (Lumine Est department store)
On-the-Ground Quick Reference Guide
When you're lost:
- Find the nearest convenience store or police box (koban)
- Show the address or map on your phone
- Ask "Koko wa doko desu ka?" (Where is this place?)
- Most Japanese will try to help, often walking you partway
Reading Japanese maps:
- 出口 (deguchi) = Exit
- 改札 (kaisatsu) = Ticket gate
- 案内 (annai) = Information
- 地下 (chika) = Underground
- 地上 (chijo) = Ground level
Emergency phrases:
- "Eigo no mapu wa arimasu ka?" = Do you have an English map?
- "~ e no ikikata o oshiete kudasai" = Please tell me how to get to ~
- "Michi ni mayoi mashita" = I'm lost
Summary: 10 Actionable Tokyo Map-Reading Tips
- Exit before arrival: Screenshot station exit diagrams before your trip
- Landmark navigation: Use convenience stores and police boxes as reference points
- Color coding: Memorize key transit line colors (Green=Yamanote, Orange=Ginza)
- Block system understanding: Addresses show construction order, not location
- GPS backup: Have offline maps for station interiors
- Zoom strategy: Stay zoomed out until you're on the correct block
- Transfer timing: Budget extra time for complex station transfers
- Operator awareness: Know when you're changing between JR, Metro, and Toei
- Physical signs: Follow colored lines and wall maps in stations
- Ask for help: Use koban (police boxes) when genuinely lost
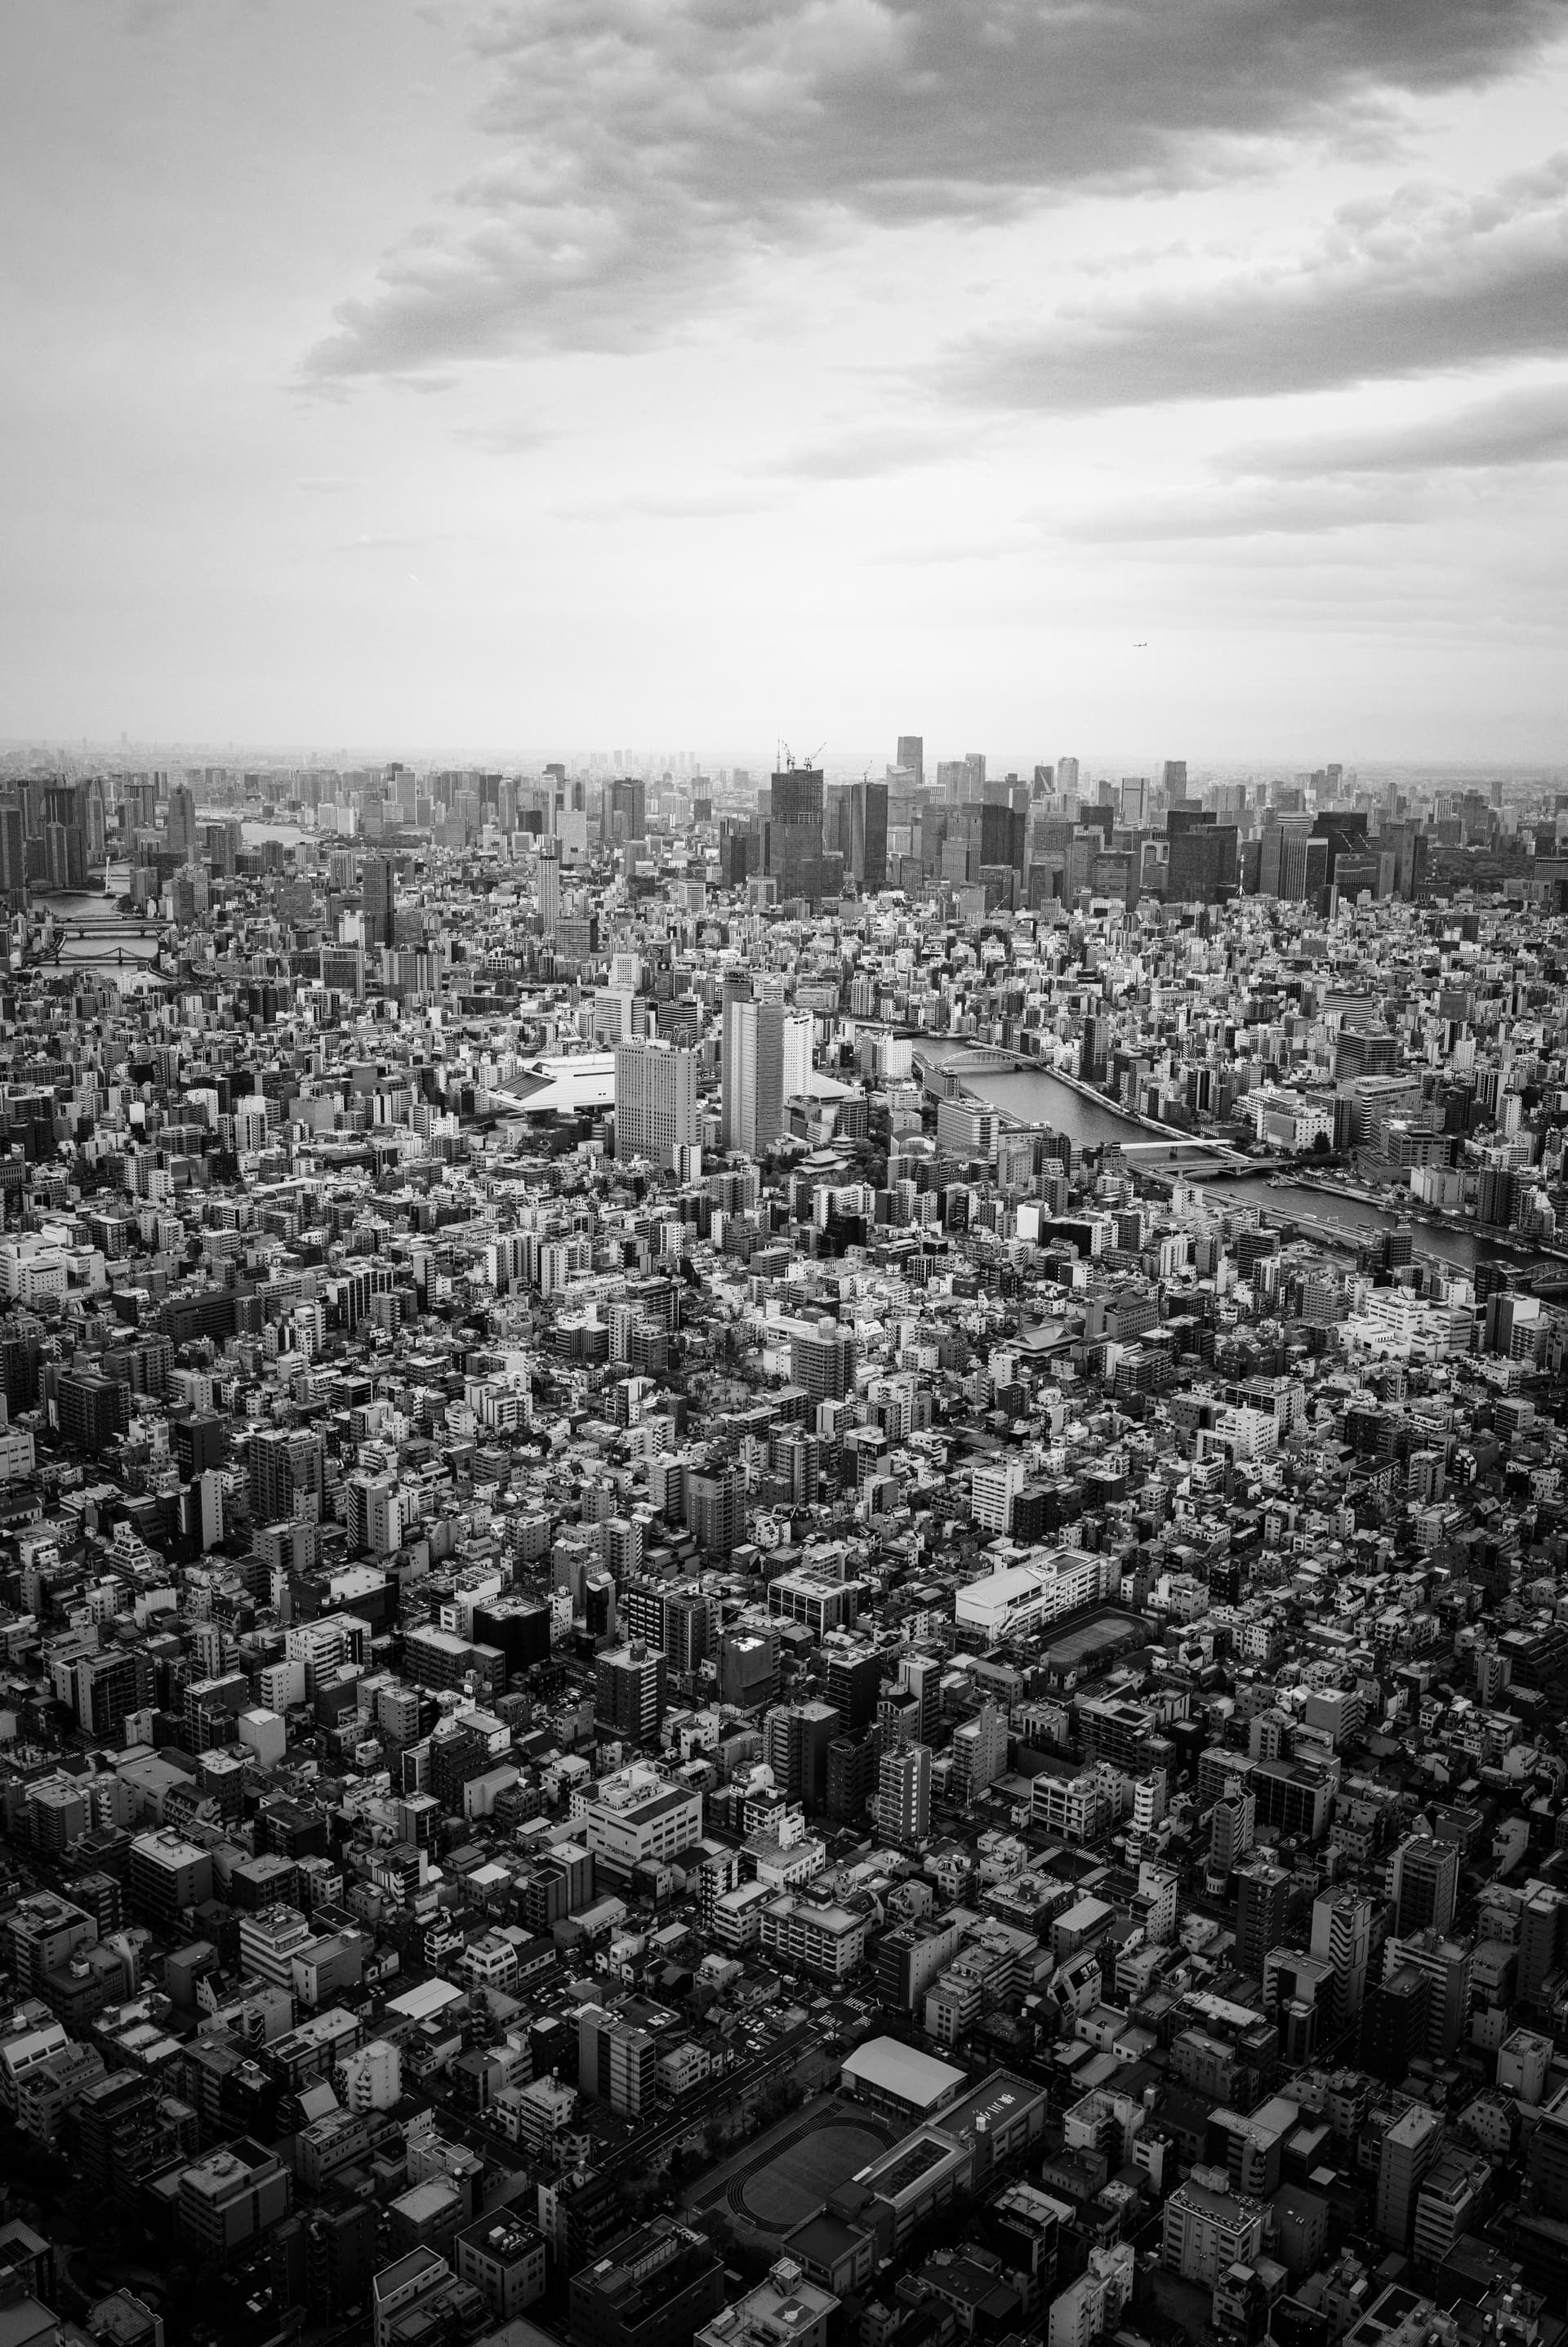
Why Tokyo Maps Feel Different
Tokyo uses a block-based address system, not a street-based one. Addresses identify buildings within numbered blocks, not positions along named streets. The numbers don't follow a logical sequence—they reflect the order buildings were constructed, not their physical arrangement.
In grid cities like New York or Chicago, addresses follow streets. 350 Fifth Avenue sits between 340 and 360. In Tokyo, adjacent buildings might be numbered 2-15 and 2-3 because they were built decades apart.
GPS coordinates work fine—they point to exact locations. But if someone gives you an address like "Shibuya 2-24-12," the map shows the general block, not the specific entrance. You'll know you're close, but finding the actual door requires landmark-based navigation. For the broader context of getting to and around Tokyo, including airport connections and citywide navigation, that guide covers the full transport picture.
This matters most at major stations. Shinjuku, Shibuya, and Tokyo Station all sprawl across multiple blocks with dozens of entrances. The exit you need might be labeled with block numbers that don't match your destination's address format.
This guide is published by Hinomaru One, a Tokyo-based private tour operator