Each day has a job: orientation, intensity, depth. Get the structure right and the destinations take care of themselves.
A 3 day Tokyo itinerary has one job per day: orientation, intensity, depth. Get the structure right and the destinations take care of themselves. Three days is enough to taste Tokyo, not to know it—this guide explains how to structure those days so they compound instead of blur.
Three days in Tokyo is enough to fall in love with the city—if you structure them right. This guide doesn't hand you a list of attractions. It gives you a framework: each day has a job, and understanding that job means you can adapt when your energy shifts, the weather changes, or you discover something unexpected worth pursuing.
Why Most 3-Day Itineraries Fail Before Day 2
The Tab Problem
You open one blog post about Tokyo. Then another. Then a YouTube video about a hidden ramen shop. An hour later, you have seventeen browser tabs open and no clearer idea what your actual days should look like.
This is normal. Tokyo generates this effect on everyone.
The problem isn't information scarcity. The problem is that most itineraries tell you what to see without explaining why to structure your days a particular way. They list attractions without giving you a framework for deciding what to cut when you're exhausted at 2 PM on Day 1.
What Itineraries Miss
A list of destinations isn't a plan. It's a menu.
The difference matters when your energy crashes unexpectedly, when a museum is closed on Monday, or when you realize Shinjuku Station has 200+ exits and you just spent twenty minutes finding the wrong one.
Before diving into daily structure, the how Tokyo works guide explains why the city confuses first-timers in the first place—no downtown, multiple equivalent hubs, neighborhood clusters that should be grouped together. That mental model makes this framework click.
What you actually need is a framework that explains the strategic function of each day—so you can adapt when conditions change without losing the thread of your trip.
The Job Each Day Needs to Do
Forget "Day 1: Modern Tokyo, Day 2: Traditional Tokyo." That's aesthetic framing, not energy logic.
Each day in Tokyo has a job—a strategic function that respects your physical state and sets up the days that follow. (This logic scales: see our 1-day and 2-day frameworks for shorter trips.)
Day 1: Orientation (Learn the System)
Day 1 is not your biggest day. It's your learning day.
Your body is still on home time. The afternoon crash is predictable. Plan for it.
Day 1's job is building confidence: figuring out how trains work, understanding how a Tokyo neighborhood flows, learning how long it actually takes to get places. The investment compounds. What you learn on Day 1 makes Days 2 and 3 run smoother.
For a quieter Day 1 option near Tokyo Station, the Imperial Palace East Gardens offer free admission, no booking, and a manageable 60-90 minute experience while you're still adjusting to jet lag.
Keep Day 1 easy-going but exciting. One neighborhood, maybe two. Nothing that requires being sharp at 4 PM.
Day 2: Intensity (Handle Complexity on Peak Stamina)
Day 2 is when your body has partially adjusted. You're still not 100%, but you're functional. This is peak stamina for your trip.
Use it for the hard stuff: stations with nine train lines, neighborhoods that require precise sequencing, areas where a wrong exit costs you twenty minutes.
Save your most complicated routing for Day 2. You'll handle it better than you would on Day 1 or Day 3.
Day 3: Depth (Commit, Don't Sample)
Day 3 is not leftovers day.
The instinct is to squeeze in everything you missed. Resist it. Travelers who pack Day 3 with four neighborhoods describe their final day as a blur.
Day 3's job is depth. Pick one arc and go deep. Leave Tokyo having done something rather than having seen everything.
| Day | Job | Why This Day |
|---|---|---|
| 1 | Orientation | Jet lag vulnerable; forgiving zones |
| 2 | Intensity | Peak stamina; high-friction zones |
| 3 | Depth | Commitment over coverage; memorable exit |
The better question isn't "modern vs traditional" but how to balance temples, shopping, and food within each day—these activity types require different mental states and timing conditions that actively conflict.
Planning Foundations (Before You Slot Destinations)
Energy Curve: Jet Lag Is Not Optional
Jet lag follows a pattern. Western travelers experience early waking (3-4 AM), functional energy through morning and early afternoon, then collapse by 6-7 PM.
This pattern persists for 3-4 days. You can push through it, but you can't eliminate it.
Build flexibility into Day 1 afternoon. Leave Day 2 afternoon and Day 3 morning slightly loose, too. The travelers who end up stuck in their hotel for two days pushed too hard, too soon.
Transit Friction: 20 Minutes Is Never 20 Minutes
Google Maps says Asakusa to Shibuya takes 33 minutes. That's train time only.
For a first-time visitor, door-to-door is 40-50 minutes. You need to navigate Shibuya Station—9 train lines, 4 operators, 14 platforms across 8 levels—and find the correct exit. Understanding how to read Tokyo's exit maps before arrival reduces this friction significantly. A wrong exit can put you a kilometer from your destination.
First-time visitors lose 2-3 hours per day to navigation inefficiency, decision paralysis, and problem resolution. Over 3-4 days, that accumulates to nearly a full lost day. Understanding what walking distances actually mean in Tokyo—including station-internal walking and seasonal adjustments—helps build realistic expectations.
Budget realistically. Two neighborhoods per day maximum keeps you sane.
Reservation-Shaped vs. Spontaneous
Some experiences anchor your schedule. Others flex around them.
| Experience | Booking Window | Key Constraint |
|---|---|---|
| teamLab Planets | Weeks ahead for peak times | Sunset/evening slots sell fastest |
| Ghibli Museum | 10th of month, 10 AM Japan time | Sells out within minutes |
| Toyosu Auction | Monthly lottery, 7-10 day window | 27-120 spots per day |
These bookings determine which day gets which neighborhoods. Everything else adjusts.
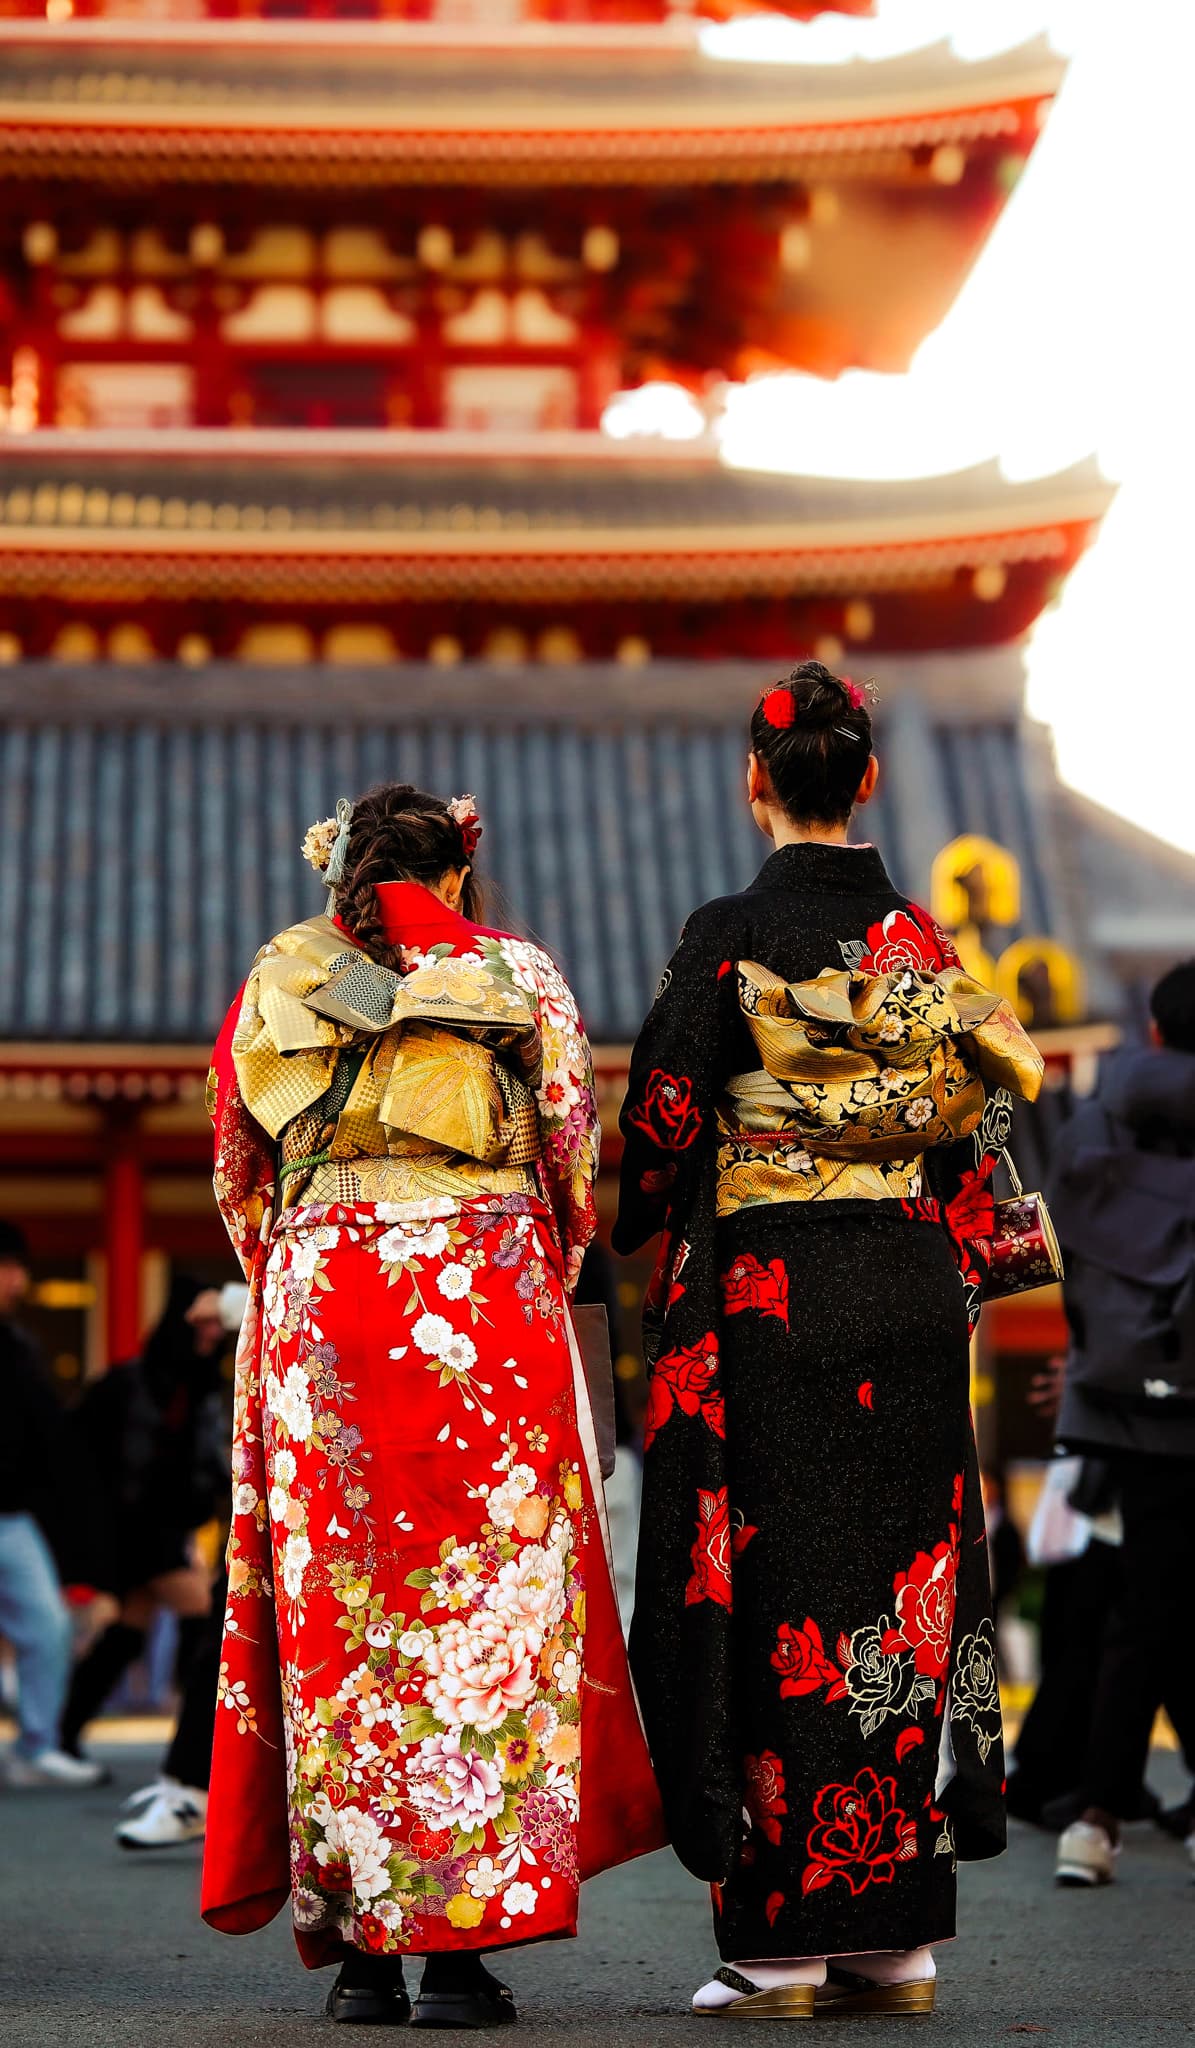
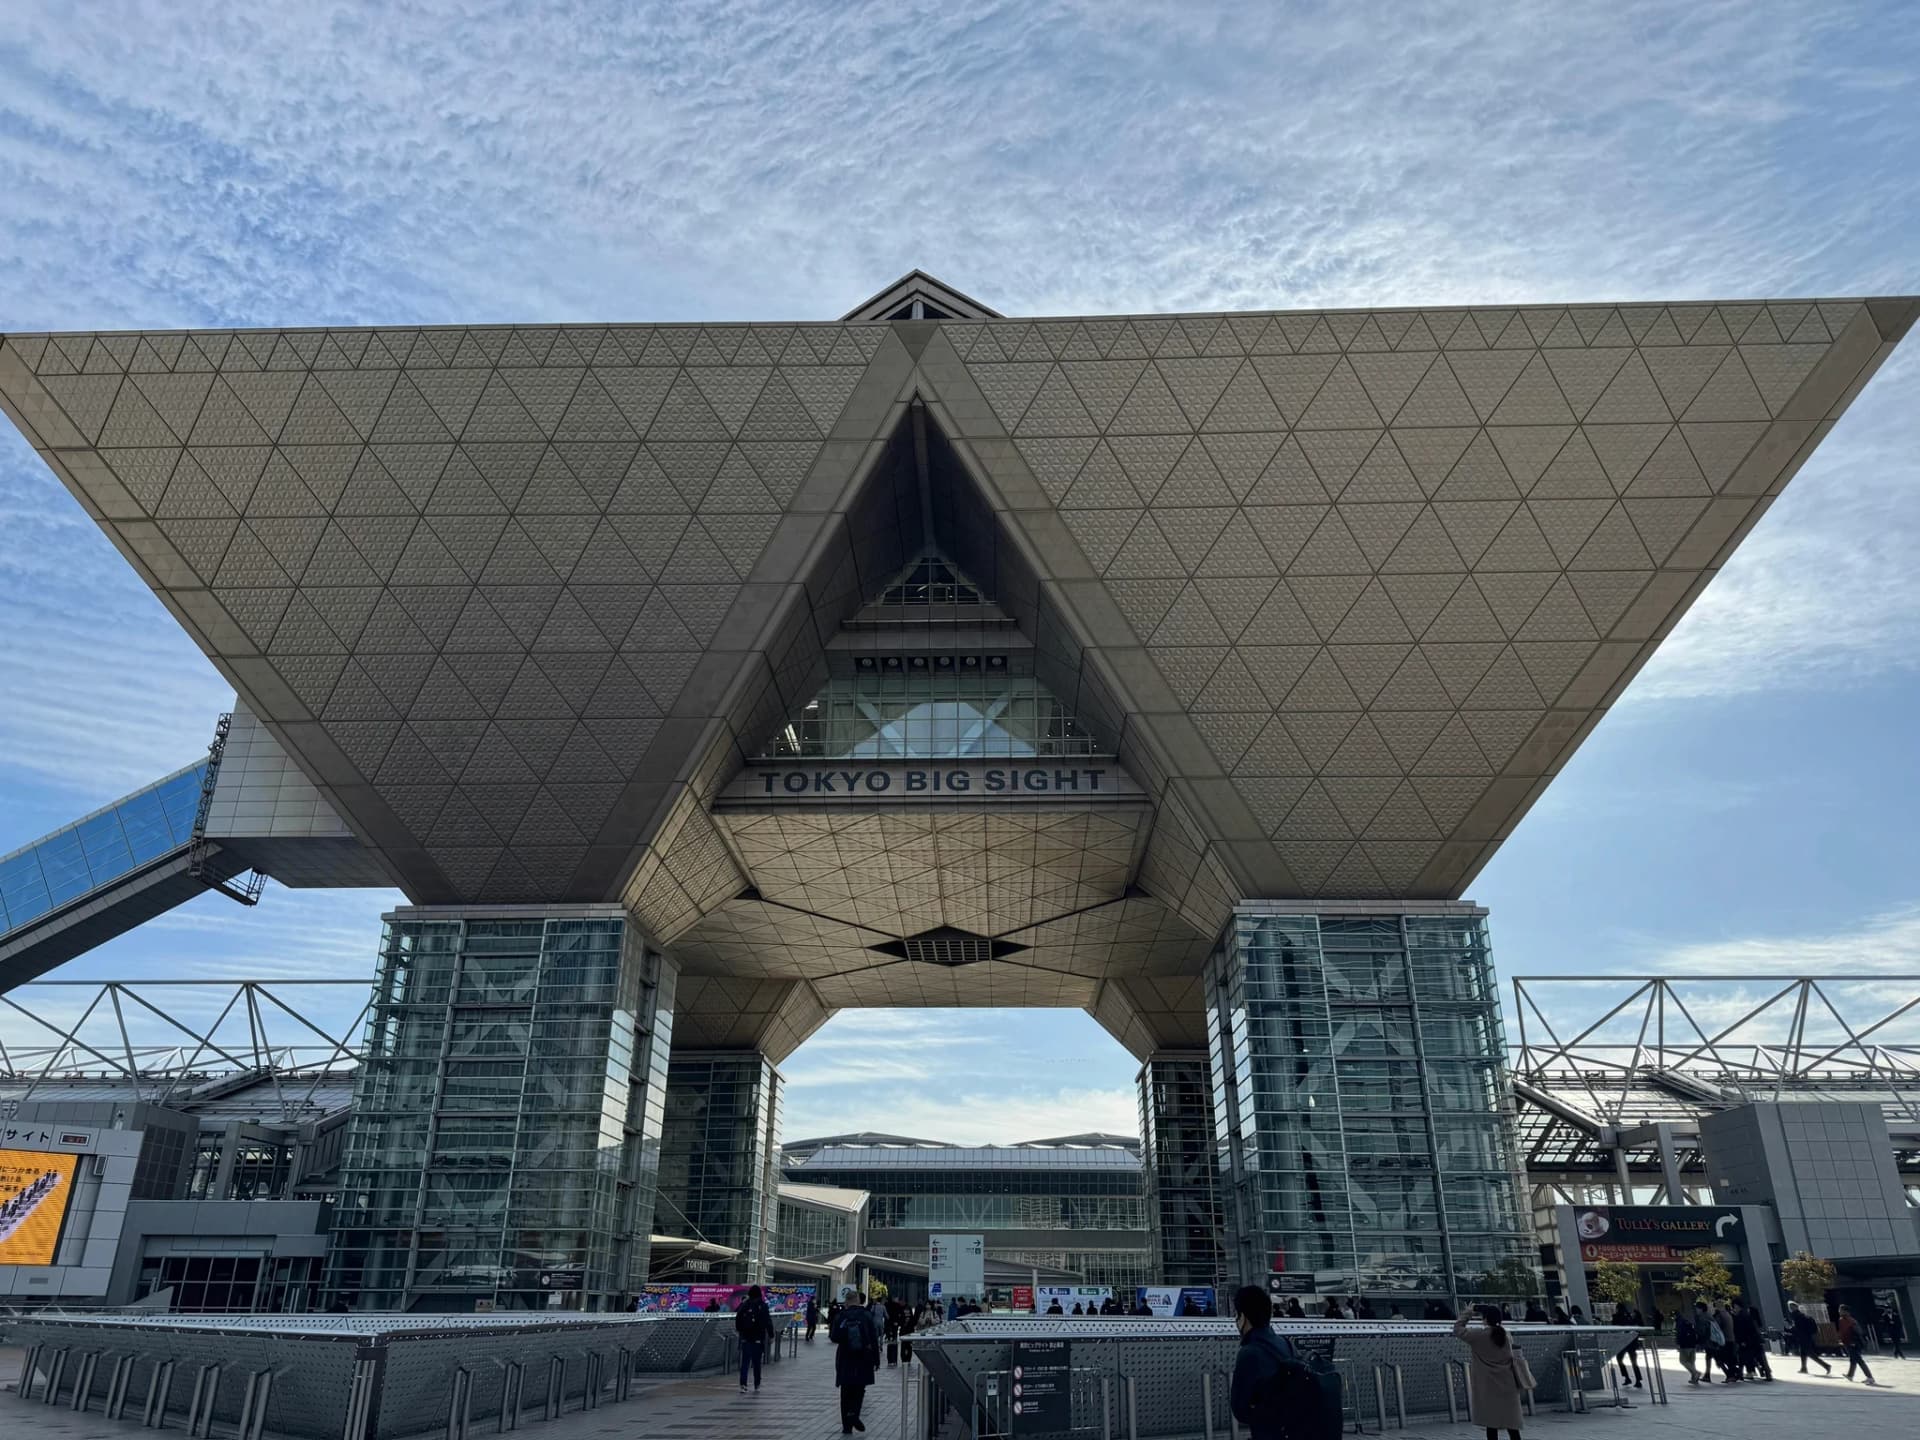
Day 1: East Tokyo (Orientation Day)
Why East Tokyo First
East Tokyo is more forgiving for jet-lagged arrivals.
Asakusa and Ueno connect via the Ginza Line—or a pleasant 20-minute walk. The stations are simpler. The neighborhoods are walkable. If you fade at 3 PM, you're not stranded in a labyrinth.
This is where you learn how Tokyo works without the penalty of getting it wrong.
Core Route: Asakusa → Ueno Corridor
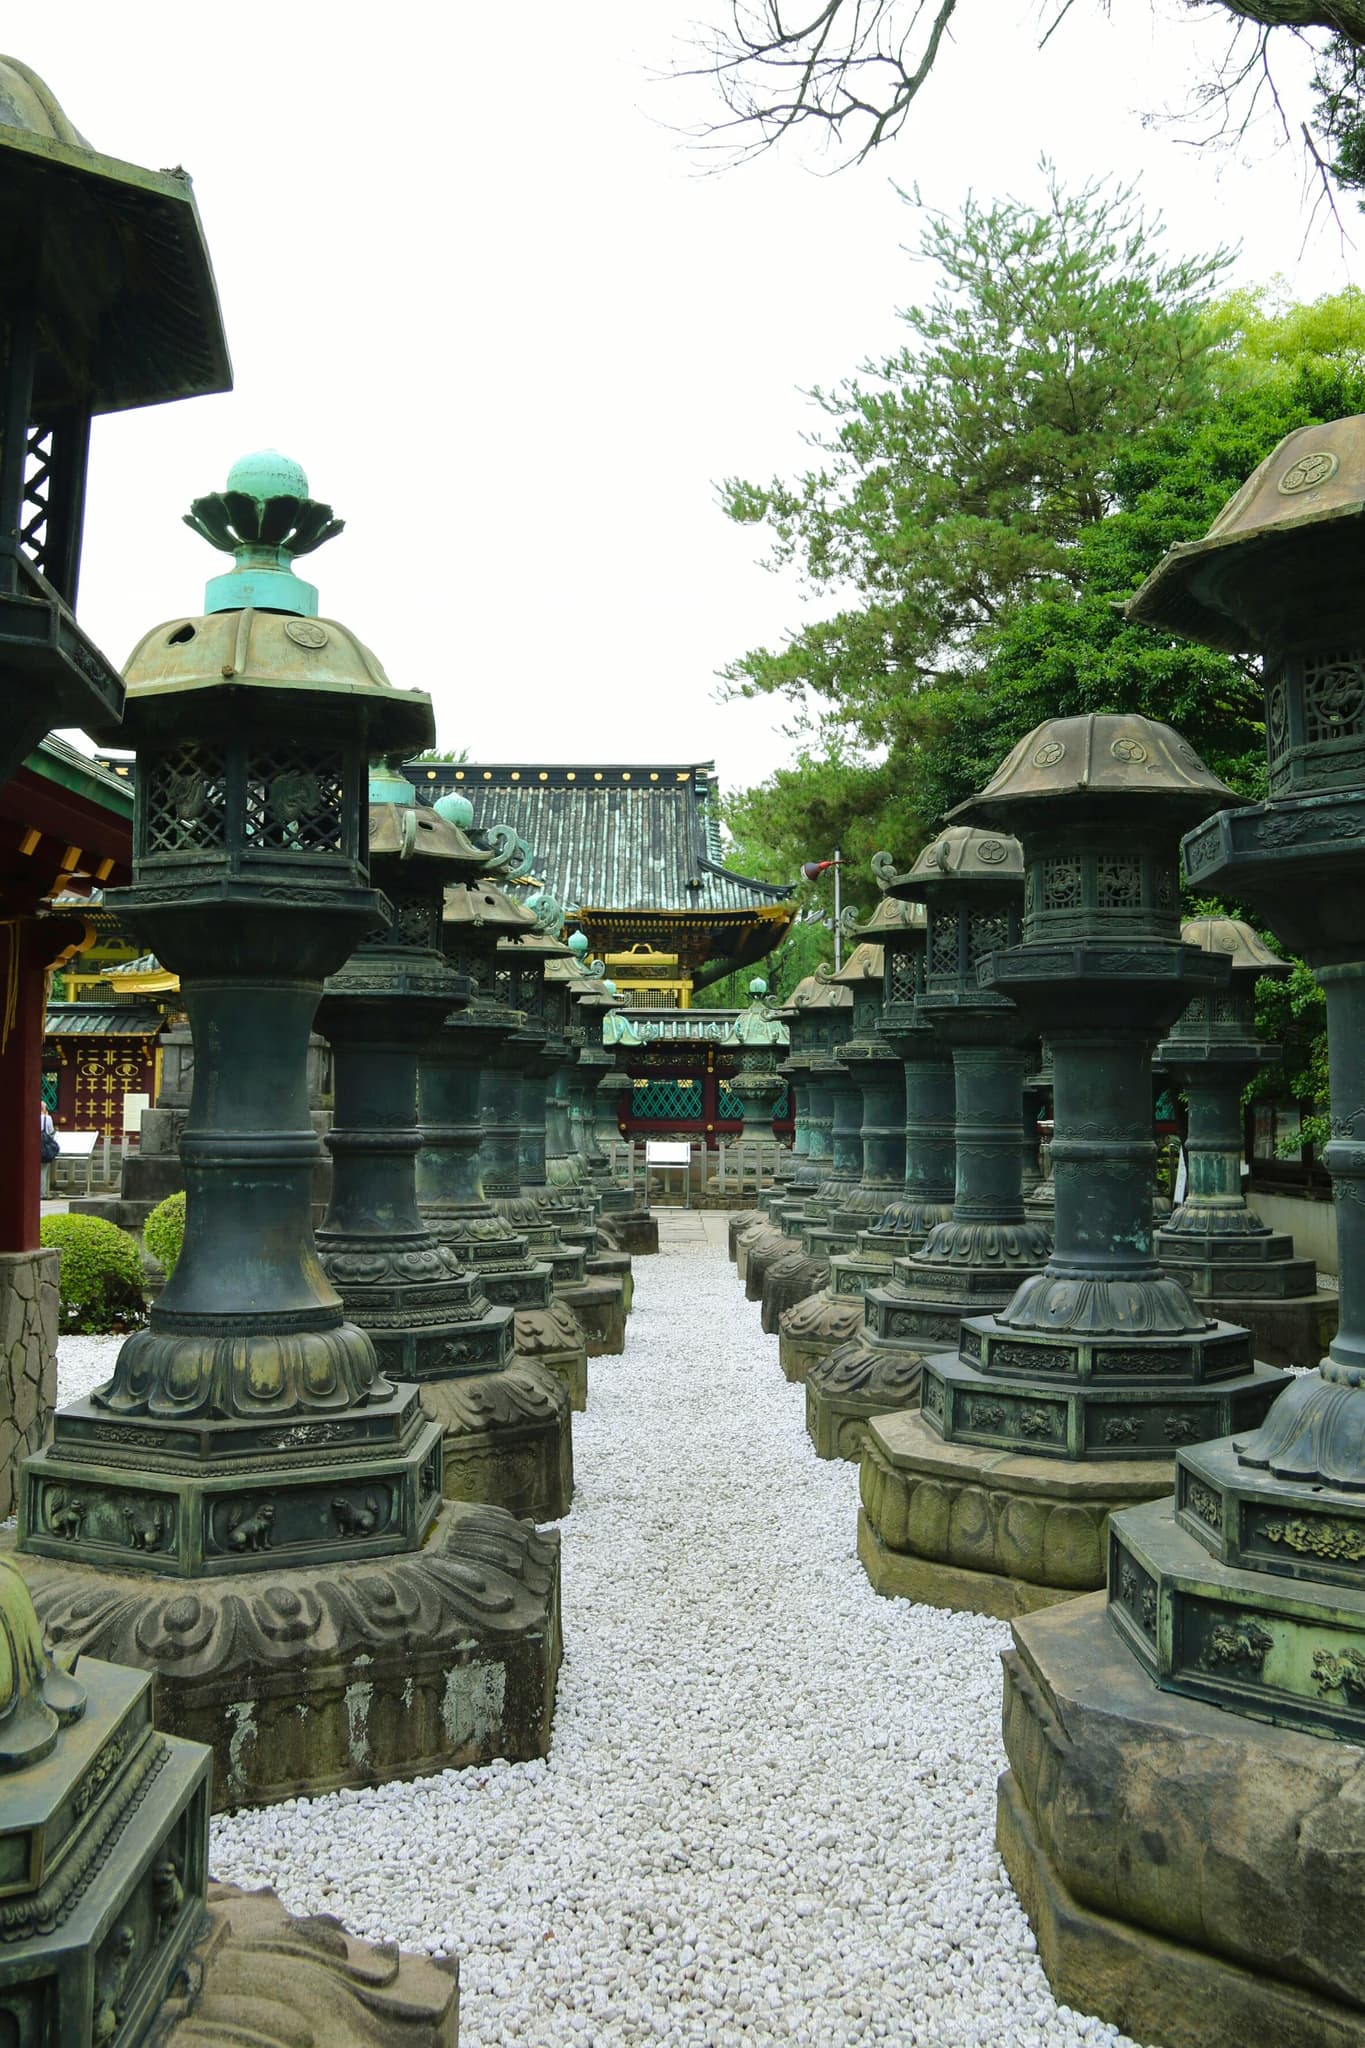
Start at Senso-ji temple. The grounds are open 24 hours, so early arrivals can experience the temple in quiet before tourists arrive. For breakfast before 9 AM, Café Tomorrow opens at 6:30 AM—a five-minute walk from Asakusa Station. The retro kissaten serves a "Mix Morning Set" (toast, eggs, salad, soup) for ¥660.
| Venue | Opens | Closes | Notes |
|---|---|---|---|
| Senso-ji grounds | 24 hours | — | Quiet before 9 AM |
| Senso-ji main hall | 6:00 AM (Apr-Sep) / 6:30 AM (Oct-Mar) | 5:00 PM | — |
| Nakamise shops | 9-10 AM | 5-7 PM | Varies by shop |
| Tokyo National Museum | 9:30 AM | 5 PM (8 PM Fri/Sat) | Closed Mondays |
From Asakusa, walk or take one Ginza Line stop to Ueno. The park offers museums or just green space to wander.
The corridor between these neighborhoods is short enough that you can move between them comfortably, but substantial enough to fill a day without rushing.
Afternoon Flexibility (The 3 PM Decision)
Around 3 PM, check in with yourself. Energy holding? Add something. Fading? Head back.
This is the value of the orientation job: you learn your own pace on a forgiving day. By the time you hit Day 2, you'll know how you handle Tokyo.
If Energy Holds: Optional Extensions
If you're still sharp in late afternoon, Akihabara is a 15-minute walk from Ueno. But only if you're genuinely energetic—not just powering through.
The goal isn't to maximize Day 1. It's to arrive at Day 2 ready to handle intensity. If this orientation sounds valuable but you'd rather skip the trial-and-error phase, Tokyo Essentials is designed for exactly this job.
Day 2: West Tokyo (Intensity Day)
Why Day 2 Gets the Hardest Zones
Shibuya, Harajuku, and Shinjuku are high-friction environments. Complex stations, ongoing construction, exit numbering that requires careful attention.
These neighborhoods reward patience and energy. Schedule them when you have both.
Core Route: Shibuya → Harajuku → Shinjuku
Start in Shibuya. If you want an observation deck, you have two options:
| Option | Height | Cost | Notes |
|---|---|---|---|
| Shibuya Sky | 230m | ¥2,700 | Open-air; book sunset in advance |
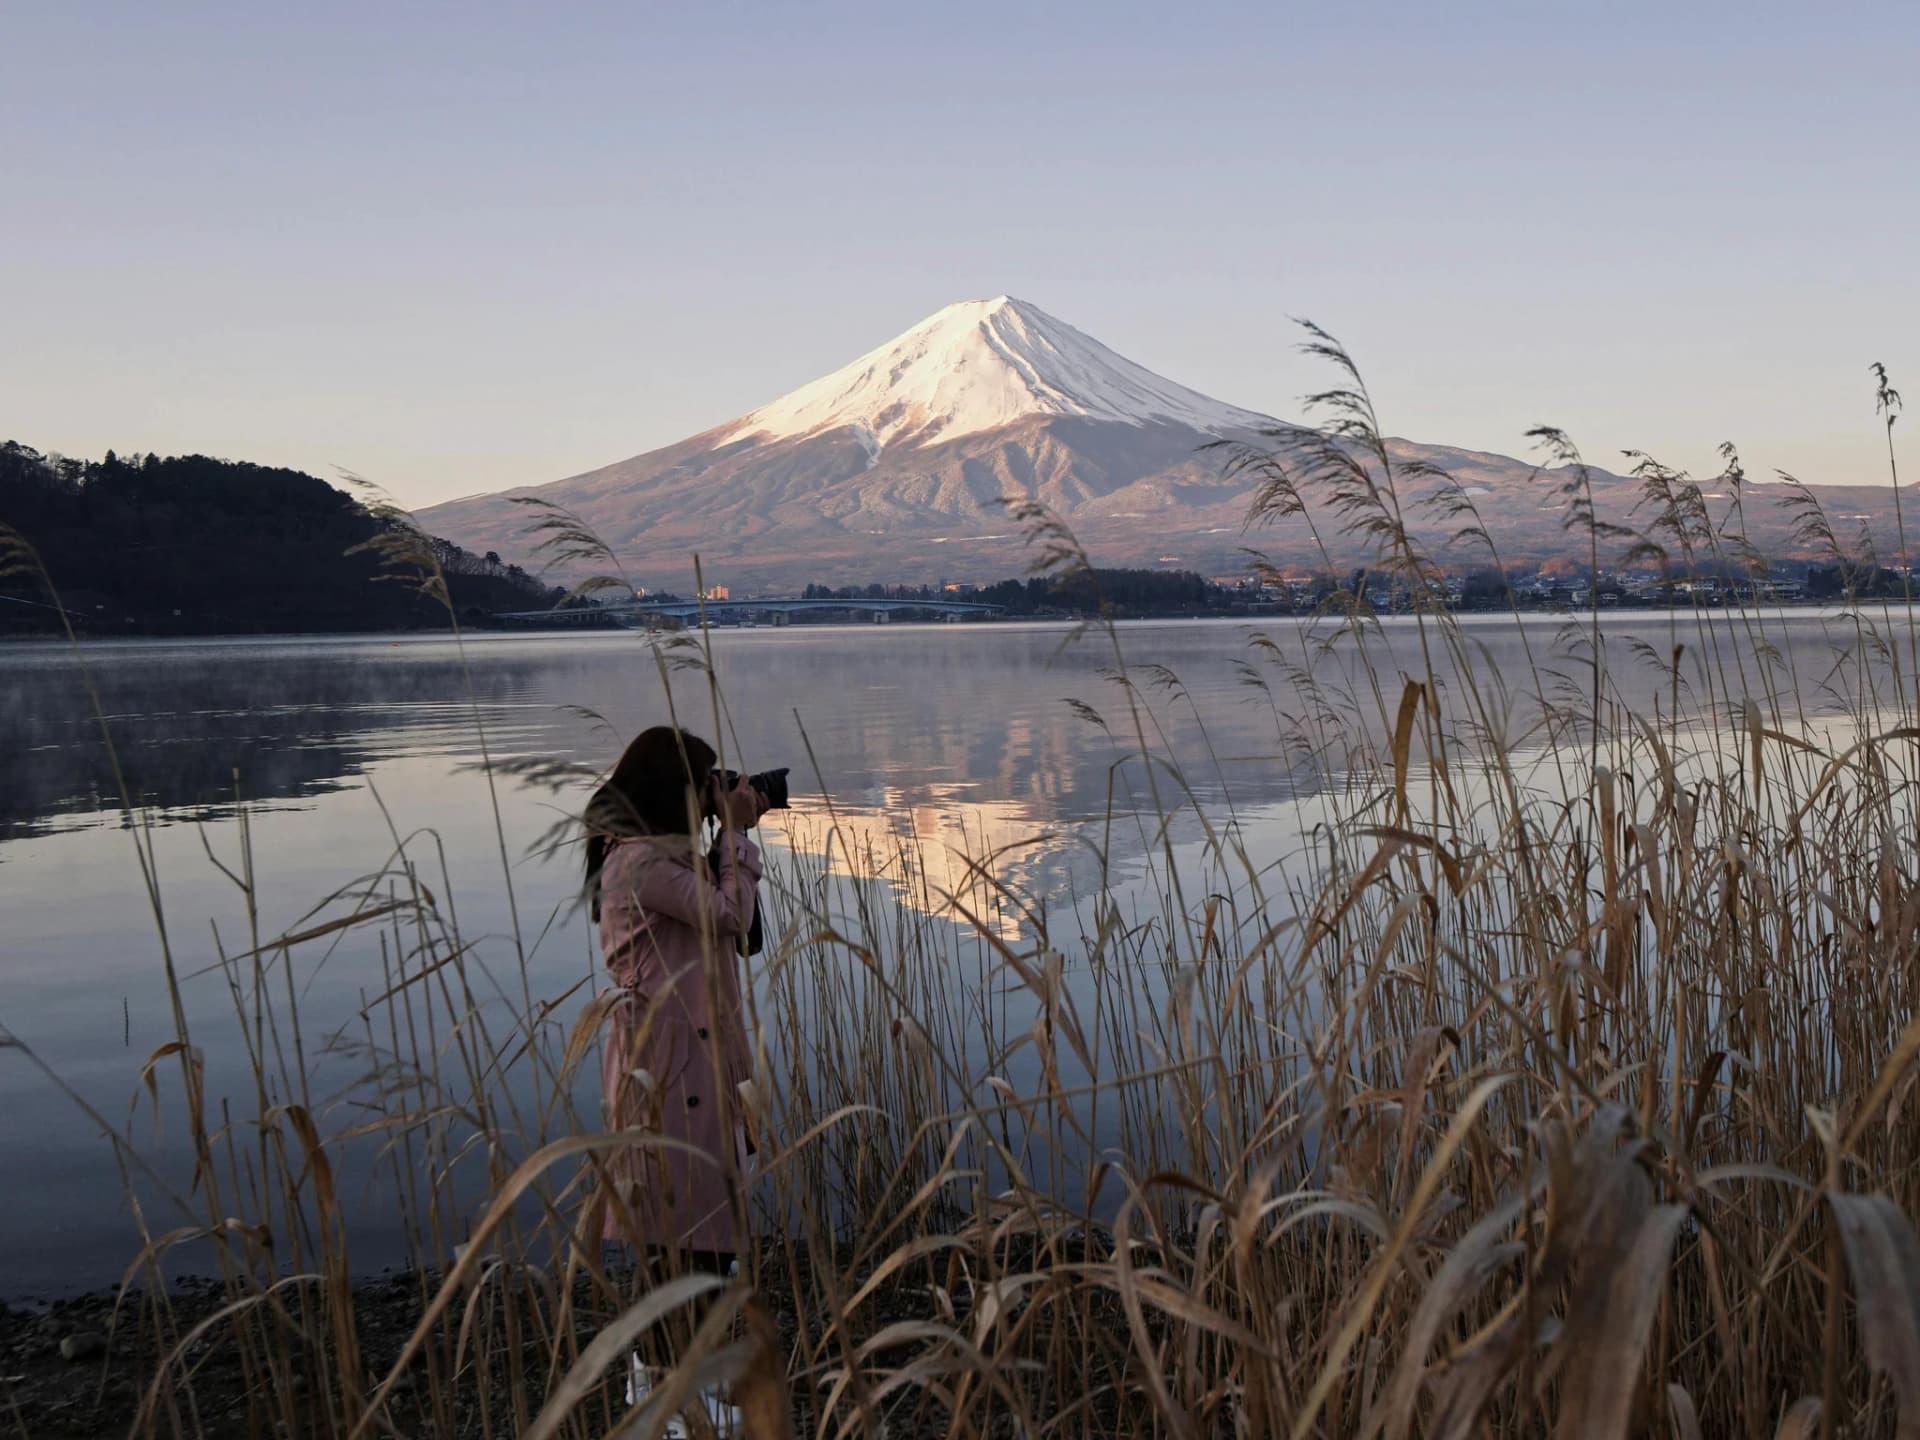
| TMG Building | 202m | Free | Enclosed; Mt. Fuji views on clear days |
Most Shibuya shops open at 10 AM, so time your arrival accordingly. For a breakdown of what's actually worth your time in the area—Crossing, Center Gai, Shibuya Sky, and the sights tourists miss—see our complete Shibuya places guide.
Walk north to Harajuku. Meiji Shrine opens at sunrise (around 5:00-6:40 AM depending on season) and closes at sunset. Early morning offers near-empty grounds; by mid-morning, crowds build. Weekends see traditional weddings and heavier foot traffic.
For lunch, AFURI near Harajuku Station serves yuzu-infused ramen with no reservation needed. Wait times at peak hours (1-2 PM) run about 30 minutes. If the line is too long, Kyushu Jangara on Omotesando specializes in rich tonkotsu—also no reservation, and the line moves.
Continue to Shinjuku in the afternoon. The station has 200+ exits and 35+ platforms, so allow extra time for navigation. Once you're out, the neighborhood offers everything from department stores to memory lane izakayas.
Efficient Sequencing (Exit Strategy Matters)
The south-to-north route matters. Starting in Shibuya and moving toward Shinjuku means you're always heading toward a major transit hub, not away from it. Tokyo Trifecta covers this exact corridor if you'd rather have someone handle the sequencing.
If you reverse the sequence, you end your day having to navigate back through the complexity you've already passed.
Evening Options (Energy Permitting)
Golden Gai and Omoide Yokocho come alive after dark. If you're still standing at 7 PM, this is your window.
For Golden Gai first-timers: Albatross has three floors and a rooftop (unusual for the area). The Open Book has no cover charge, English-speaking staff, and the best lemon sour in Golden Gai. Both welcome tourists when many bars are regulars-only.
If you're not standing at 7 PM, you've already accomplished the day's job.
Day 3: Depth Day (Pick One Arc)
Why Depth Beats Coverage
The urge to cram in everything you missed is understandable. Fight it.
Day 3 visitors who hop between three or four neighborhoods consistently describe their final day as a blur. Visitors who commit to one arc leave with something memorable.
| Arc | Focus | Duration | Advance Booking |
|---|---|---|---|
| A: Waterfront | Toyosu + teamLab | Full day | teamLab required |
| B: Quiet Tokyo | Yanaka + Nezu | Full day | None |
| C: Interests | Akihabara + specialty | Flexible | None |
Pick an arc. Go deep.
Option A: Toyosu + teamLab Planets (Waterfront Arc)
Toyosu Market offers morning sushi and the chance to watch wholesale operations through viewing corridors—infrastructure rather than atmosphere, but compelling if you want to understand how Tokyo's food supply actually works. For a guided version that includes access locals use, see Ordinary Tokyo.
teamLab Planets, now expanded to 1.5 times its original size with the January 2025 addition, requires roughly 3 hours for a full visit. The expansion added three zones: Athletics Forest (physical—slides, trampolines, bouncing spheres), Catching and Collecting Forest (smartphone app, extinct animals), and Future Park (drawing, best for kids). Athletics Forest draws crowds and has queues; Catching Forest is quieter and often empty. Families with active kids should hit Athletics Forest first thing. Adults seeking immersion do better starting with Catching Forest.
The combination fills a day without rushing. Book teamLab tickets weeks in advance for weekends; late evening slots (7 PM+) are now less crowded than morning, since everyone read the same "book early" advice.
Option B: Yanaka + Nezu (Quiet Tokyo Arc)
Yanaka Ginza is a traditional shotengai shopping street with dozens of independent shops—no chains, no tourist traps. Most shops open between 10-11 AM and close by 6-7 PM. Many are closed Mondays. Cash is preferred.
Nezu Shrine and Yanaka Cemetery provide the walking. The afternoon "Yuyake dandan" staircase offers sunset views over the street.
This arc suits visitors who want Tokyo at a human pace. Timeless Tokyo explores similar neighborhoods with a guide who knows which shops are worth entering.
Option C: Akihabara + Specialty Shopping (Interests Arc)
If you have a specific interest—anime, retro games, electronics, figures—Day 3 is when you follow it.
Akihabara rewards depth, not breadth. Going deep on one category beats superficially touring all of them.
Adapting the Structure (Weather, Energy, Companions)
The framework holds even when conditions change. Here's how to adapt. (For how seasons affect this structure, see when to visit Tokyo.)
Rain Day Pivots
Rain doesn't cancel a day. It changes the menu.
| Day | Rain Pivot | Job Preserved |
|---|---|---|
| Day 1 | Ueno museums | Orientation (learning system, indoors) |
| Day 2 | Department basements, covered streets | Intensity (same corridor, covered) |
| Day 3 | teamLab / Akihabara | Depth (both largely indoor) |
The point is preserving each day's job, not the specific destinations.
When Exhaustion Hits Early
If you crash harder than expected on Day 1, don't try to "make it up" on Day 2 by adding more.
Cut destinations, not days. A full Day 2 with three neighborhoods becomes a solid Day 2 with two. The intensity job still gets done, just at lower amplitude.
Traveling with Kids or Seniors
Same framework, different pacing.
Families need more buffer time between destinations. The two-neighborhoods-per-day maximum might become one-and-a-half. The jobs stay the same—orientation, intensity, depth—but each job gets more rest built in.
Seniors benefit from the Ginza Line corridor on Day 1 (fewer stairs than Shibuya) and do well with the Quiet Tokyo arc on Day 3.
Repeat Visitors: Different Jobs
If you've done the orientation already, Day 1's job changes.
Repeat visitors can handle intensity from Day 1. They don't need to learn the train system. Their three days become intensity, depth, depth—or they skip the tourist zones entirely and commit to neighborhoods first-timers wouldn't attempt.
When a Guide Changes the Math
A guide isn't required for any of this. But there are moments where the math shifts.
Day 1 Orientation: The Payoff Compounds
A guide on Day 1 accelerates the learning curve. You skip the trial-and-error phase of figuring out how trains work, which exits matter, and how to read a neighborhood.
That orientation compounds. By Day 2, you're executing instead of learning.
Travelers who use a guide for their first day explore independently on subsequent days with more confidence than expected.
Day 2 Complexity: Efficiency Becomes Measurable
Day 2's high-friction zones are where guides earn their cost in time.
Knowing which Shinjuku exit saves fifteen minutes, which route avoids the construction, and when to pivot based on crowd levels—these are measurable efficiencies. Over an 8-hour day, small savings compound.
If complexity sounds draining, a guide converts it into focus. If complexity sounds like part of the adventure, self-guiding works fine.
The framework holds either way.
Where Hinomaru One Fits
Day 1 orientation is where we compress the learning curve. You finish knowing how trains work, which exits matter, and how to pace yourself. Day 2's high-friction zones—the 200-exit stations, the precise sequencing—become focused exploration instead of anxious navigation. The framework holds; we make each job easier.
At Hinomaru One, we design culturally rich, stress-free private Tokyo tours for first-time and seasoned travelers. Unrushed. Insightful. Always customized.